Copyright XDA Developers
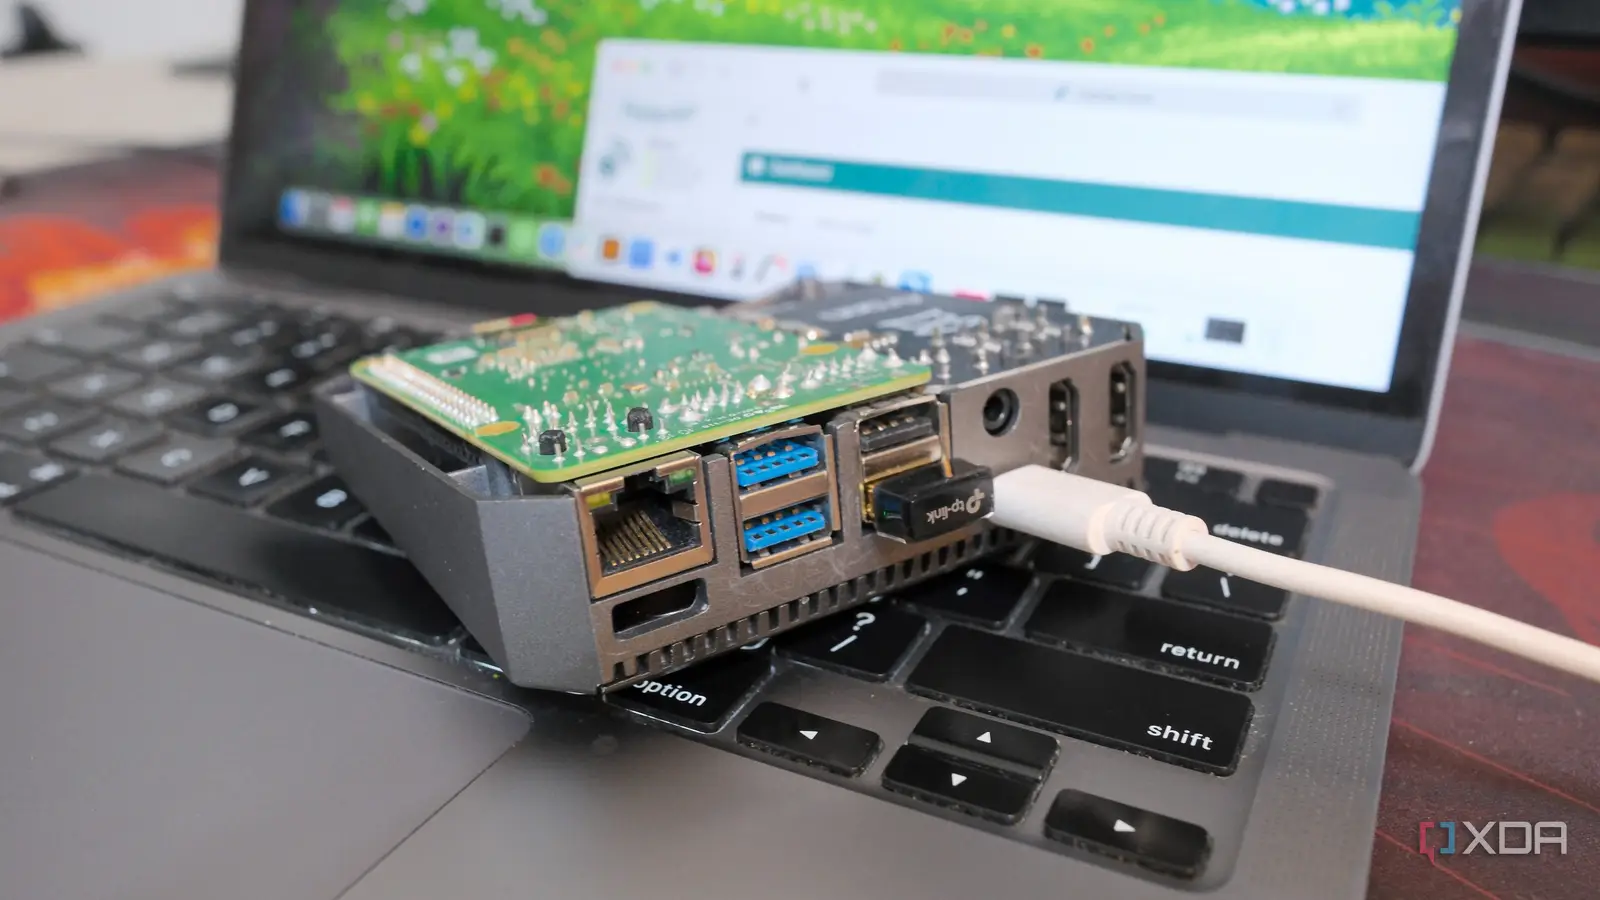
Building Raspberry Pi projects is an itch I can never scratch. There's always something new, something intriguing— a self-hosted service that can save my subscription money, or a cluster project that can integrate several Pis into a formidable unit. Whatever the case may be, building a Raspberry Pi project needs a lot more than you think. You need to attach several additional components to the tiny single-board computer. The situation becomes more demanding when you have multiple Raspberry Pis, each devoted to a single or multiple tasks. Over the last few months, I've noticed how many accessories I've collected, primarily to incorporate them into projects that require extra storage, USB hubs, input/output devices, audio extensions, and cables. Let's explore how these accessories play a vital role in building something new. USB hubs Onboard ports aren't enough Raspberry Pi has ports, but let's be honest, you run out of them pretty quickly. If you use something like the Raspberry Pi 5 as a laptop replacement, the mouse and keyboard take up two ports, while the speaker and USB drives each require one port. Pi Zero 2W is notoriously small and has only one micro USB port for all connections. I understand that the Zero series is often used in headless setups, but you still need it for that one-time configuration if you're using a different Raspberry Pi OS, such as DietPi. My collection of USB hubs has grown over time. I have L-shaped, long, short, direct-plugged, and even single connection wires, including ones that convert a micro USB to a USB-A. Even on other non-Raspberry Pi boards, budget devices typically offer only one or two connection ports, and my hubs help me expand the connectivity. They also last long; I've purchased both cheap and expensive ones, and I've rarely had one fail after continuous use. Cables and adapters Making connections The latest Raspberry Pi 5 requires a 27-watt power supply, whereas the Zero can operate with a 10-watt one. Only the Pi 5 works with a USB Type-C cable, and newer boards have begun adopting the Type-C port. So, you need multiple cable types, although the micro USB is becoming less common. I have multiple 10-watt adapters and micro USB cables from my old smartphones and speakers, so I don't need to spend a lot on these. USB-C cables are readily available because every gadget I buy comes with one. However, I also need to verify the power rating now, as my Radxa board requires a 30-watt power supply and suitable cabling. My HDMI cable collection is relatively small, as it typically consists of a single cable connecting a spare monitor to the Raspberry Pi board. However, I need it occasionally, for DietPi setups or when I want to try out niche operating systems. Keyboard and mouse Interacting with the Pi When I first started out, I had a single keyboard and mouse combo that I used with my main Windows PC. However, when I grew tired of removing and reattaching my heavy mechanical keyboard to the Pi, I purchased a cheaper one that was specifically designed for it. I also have a couple more mice, both wired and wireless, that I use with the Pi and my main PC. Like the HDMI cable and screen, the keyboard and mouse are useful only if you use your Pi in an interactive environment. It could be used as a PC or just an occasional configuration, but it should always be available. I'm not a fan of Bluetooth devices, but I have to switch to one because the desk is too crowded. DACs To lend audio capabilities to Pi The Raspberry Pi Zero 2W doesn't have an audio port, which is understandable, but skipping the port on the Pi 5 is absurd. My Radxa Cubie A5E also lacks an audio port, but there's a solution. You can either buy a DAC HAT for the Pi or use a USB DAC instead. I revived my old hi-fi speakers with this DAC, and it's a simple solution compared to soldering on both ends. You can directly connect a speaker using an aux cable from this DAC and then use the Pi for remote playback or even as a system speaker. You can buy them for $5 or more, which is a cost-effective alternative to using a soldering iron. Storage drives Adding more storage My Raspberry Pi Zero 2W serves as a remote download device connected to an external SATA SSD. I use a single USB SSD as the boot drive for the Radxa board because it's more reliable than an SD card. Additionally, I connected my one SATA HDD to an old laptop and used it as a Jellyfin server, allowing it to serve media on demand. I also keep several SD cards for OS swapping, so I can use my Pi as a retro gaming device when needed. My Seagate drives are a decade old, while KIOXIA and Sandisk SD cards are recent purchases. You can easily guess that you need multiple storage devices of each type as you progress with your Pi projects. If you use something like NextCloud on the Pi for cloud storage or want to build a media server, multiple USB drives (SSD or HDD) are necessary. Never enough Raspberry Pi needs one or more peripherals, depending on the projects you want to build. The five peripherals mentioned above will always be useful. You might even need additional items, depending on the complexity, such as extra sensors or cameras. Software-based projects will always require a reliable storage device, a robust power supply, and a USB hub to connect all components. Whatever the case may be, your drawers will soon be full of these peripherals as you add more SBCs to your collection.