Getting Windows 11 set up with everything you need isn’t the easiest process. It’s not exactly easy to backup all your files and programs in one go and have them ready when you set up a new PC. However, with some work, there is a method that lets you back up an entire Windows image into a WIM file so that you can restore it on a new PC exactly as it was.
This requires quite a bit of preparation, but if you want to replicate your system configuration across different machines or keep a backup, this is a valid way to do it. So let’s get into the specifics.
What you’ll need
You have to do it on a fresh install
First off, if you’re planning to create a backup by capturing a Windows image with DISM, you’re going to need to prepare your Windows image properly, starting by generalizing your current system using the System Preparation tool, or Sysprep. Generalizing an image means Windows will be captured without any user-specific information or installed driver software (driver files themselves are backed up, just not installed by default).
However, generalizing a Windows image comes with a big caveat that requires you to be already prepared ahead of time. Apps can’t be installed or updated through the Microsoft Store before generalizing an image, because apps from the Microsoft Store are only provisioned for the current user, and the Sysprep tool will fail to run in this case. That means you basically can’t have been using Windows 11 as Microsoft normally expects users to.
Essentially, you’ll need to do this on a fresh Windows install, before you even get to the desktop. We’ll explain more about that in a bit. It’s useful to have a second computer ready for any necessary on-the-fly adjustments, but if you’re careful, you may be able to do it with a single PC.
Additionally, this process will require two external drives: one to hold the Windows image — which should be at least 8GB in size, but likely more depending on how much you want to include in the image — and one to boot from so you can capture and apply the image. The bootable drive will need to be set up with the Windows Preinstallation Environment, which is a challenge on its own.
Creating a bootable Windows PE drive
A necessary tool
In order to capture and apply the Windows image, you’re going to need a bootable USB drive running the Windows Preinstallation Environment. This is an advanced IT tool that helps you deploy Windows images, but it requires some work to set up.
You’ll need to download both the Windows Assessment and Deployment Kit (ADK) and the Windows PE add-on for the ADK, for starters, and those can be downloaded here. You can just follow the default installation process for both. Microsoft has official guidelines on how to use the Windows ADK to create a Windows PE bootable drive on this page, and we won’t duplicate them here, but there are some things to note about the steps provided, so read carefully.
First, once you’ve followed the steps in the first section to Update the Windows PE add-on for the Windows ADK, you will not be able to use the copype command shown under the section called Step 1: Create working files, because the folder specified in the command will be created by the steps in the first section. However, the folder should be empty, and you can safely delete it, then run the copype command as specified.
You can skip the entire Step 2: Customize Windows PE section, as there’s no need to customize the Windows PE image. When you get to Step 3: Create bootable media, you’ll have to specify the drive you’re using as the bootable media, and there’s a chance your drive will show an error DiskPart errorlevel -2147024809. This means your drive is using a GPT partition scheme, and you need to change it to MBR. To do this, follow the steps on this page. Again, there’s a note here, where the page says select disk x and says X is the drive letter, it’s actually the drive number shown after entering the previous command. Once that’s done, you can run the command to flash Windows PE onto the flash drive.
Generalizing your Windows image
Add what you need
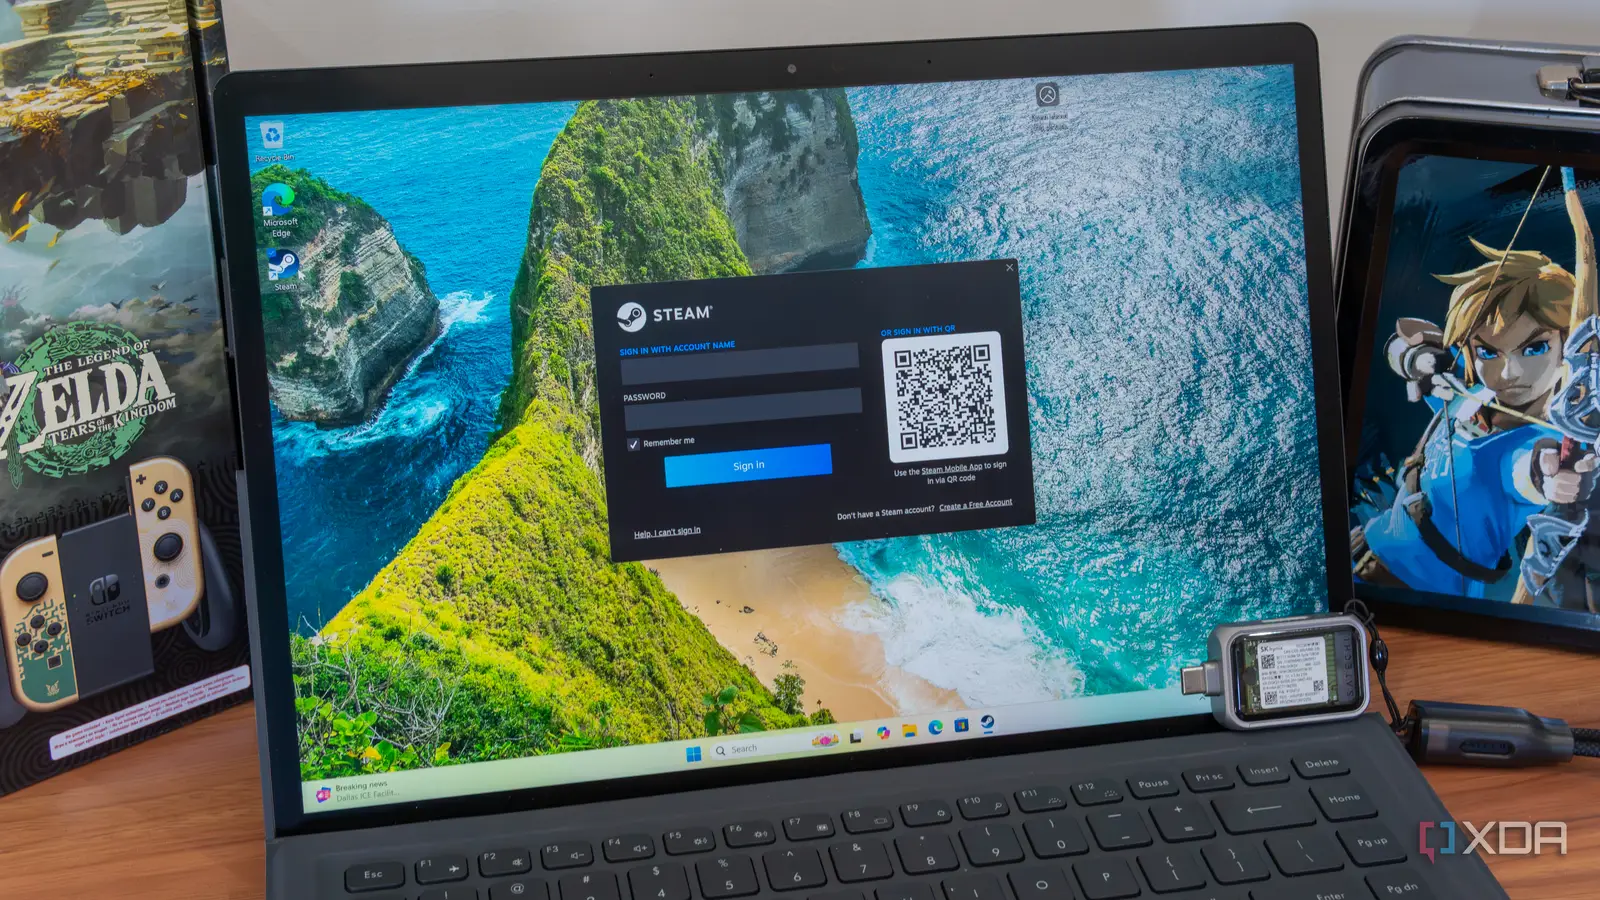
To generalize a Windows image, you’ll need to enter Audit Mode, and your best bet is to do it as soon as you enter the out-of-box experience (OOBE), where you see the screen above. At this point, press Ctrl+Shift+F3 to enter Audit Mode and begin preparing the Windows image. You don’t have to precisely do it on that screen, but you can’t connect to the internet during this phase.
Once you’re in Audit Mode (you’ll be on the built-in Administrator account), you’ll want to disable app updates from the Microsoft Store as well as pause updates in Windows Update. This is to prevent Microsoft Store apps from being installed or updated in any way while you prepare your image.
If you’ve followed the steps above, you’ll want to begin setting up the apps you want to generalize for your Windows image. Without using the Microsoft Store, install any programs you want to include with your Windows image. It can be just about anything, but you’ll have to be mindful of apps that install into the AppData folder, which is within the user folders. When prompted, always choose to install apps for the entire system, or set an install location that’s outside of the user folder. User-specific files are not kept when generalizing the image, so you have to be intentional with what you want to keep. If you’d like to include downloaded files, for example, you can create a folder in the root of the C: drive to hold those files so they’re included in the image.
Once this is done, go back to the Sysprep window that was open at startup. If you’ve closed it, you can re-open it by pressing Windows+R and then entering this text:
%WINDIR%\system32\sysprep\sysprep.exe
Here, leave the dropdown menu set to Enter Out of box experience (OOBE), and check the box for Generalize. For the second context menu, choose Shutdown and click OK to confirm.
Capturing the Windows image
A lot of care is required
At this point, you’ll need both the flash drive with Windows PE and the drive that will hold the Windows image. If you have a large enough drive, you may be able to use partitions, but I did this with separate physical drives. On the computer you prepared with a generalized image, plug both drives in before turning the computer on, and then quickly press the key to access your boot options or your computer’s BIOS, so you can set the computer to boot from your Windows PE drive instead of the built-in hard drive.
When Windows PE boots, you’ll be on a mostly blank screen with a Command Prompt window. While the command for capturing the image is fairly simple, you’ll need to make sure you have the right drive letters. For this, you’ll need to start with the following command:
diskpart
Then, enter this command:
list volume
Take note of all the volumes connected and make sure you can identify them. Your Windows partition will need to have an assigned letter, and so will the drive where you’re storing the image. You can use the select volume x command (X being the number of the volume in question) to select one of the volumes to act on. Then, use assign letter 0 (0 being any letter aside from A, B, X, or a letter assigned to another drive) to assign a letter to it. You may need to repeat this for both the Windows partition and the drive where you’ll be storing the image. Remember the letters you assigned to each one, then type in exit and press Enter to leave diskpart. Then, use the following command, replacing C: with the letter assigned to your Windows drive, and D: with the letter assigned to the USB drive for storing the captured image.
Dism /Capture-Image /ImageFile:”D:\Images\WindowsImage.wim” /CaptureDir:C:\ /Name:WindowsImage
Wait for the process to complete, then close the Command Prompt and wait for the computer to turn off.
Applying the image
Almost there
With the Windows image ready, you now have to apply the image to the new PC (or PCs). To do this, you’ll need to set up a couple more files in the drive that has the Windows image. First, you’ll need a script for diskpart that will create the necessary Windows partitions. This will be a TXT file and you can name it whatever you want, but we’ll call it CreatePartitions but include this content for PCs with UEFI:
If your PC has a classic BIOS, you can use this script instead.
Then, you’ll also need a batch script (with a .BAT extension) for applying the image, with whatever name you prefer, but for our example, we’ll go with ApplyImage.bat. I used this simplified script from Microsoft’s guidance:
With the script I used (provided by Microsoft), the Windows Recovery Environment file failed to move to the recovery partition due to insufficient disk space. Windows itself still worked fine, but recovery options would be limited. In my version of the script above, I increased the recovery partition size from 500MB to 1.5GB, which should be enough.
Now, plug both the Windows PE drive and the drive with the Windows Image and the files above into the PC where you want to install Windows, and boot it up. Like before, you’ll need to make sure the computer is booting from the Windows PE drive, though if there’s no OS on the internal disk, this should happen automatically.
Once the Command Prompt appears in Windows PE, use diskpart and the list volume commands as described in the section above to find out the drive letter of your drive with the Windows image and script files. If it doesn’t have one, use the assign letter command to give it one. Exit diskpart, then use the following command, replacing D: with the appropriate drive letter:
diskpart /s D:\CreatePartitions.txt
After that, enter the following command, again, replacing D: with the correct letter:
D:\ApplyImage.bat D:\Images\WindowsImage.wim
Wait for the process to complete, then close Command Prompt and wait for the computer to shut down, then remove the USB drives. Your computer should now boot into Windows with the image you applied.
Quickly set up a new PC
If you have a set of apps that you constantly need to deploy on new PCs, this method is an effective way to reliably reproduce your setup across all those devices. It will install Windows and any apps you need in one go, while keeping the experience generalized so anyone can use that same image on different PCs. It takes a lot of work, but it’s worth it if you’re doing this kind of thing frequently.