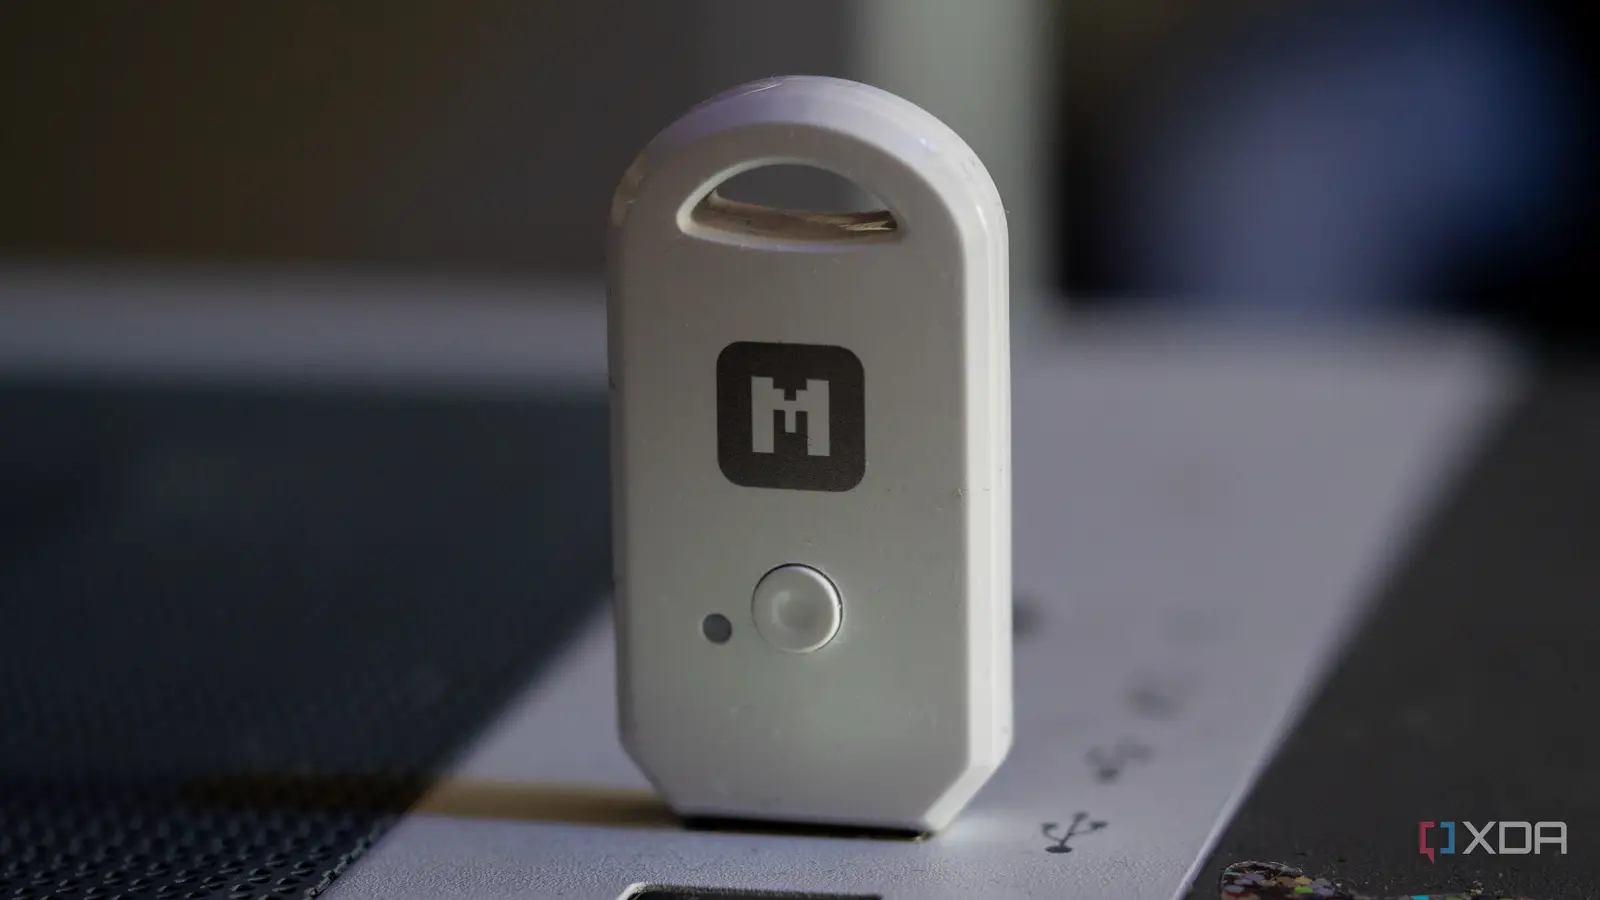
Bluetooth dongles are pretty cheap devices, and nowadays, many PCs have them built in. However, as I’ve consolidated a number of my self-hosted services into one machine, the migration process has come across a few hiccups along the way. One of those relates to Bluetooth; the machine my Home Assistant box had previously been running on had an easily-passed through Bluetooth adapter to the Home Assistant VM, but the new server I’ve migrated to doesn’t. That’s when I realized that I could turn the Makerdiary nRF52840 MDK into a Bluetooth dongle.
The nRF52840 is, at its heart, a simple Bluetooth 5.4 System-on-Chip, and it supports Bluetooth LE, Bluetooth mesh, Thread, Zigbee, 802.15.4, ANT, and proprietary 2.4 GHz communication. People have turned these little devices into Zigbee coordinators, so how hard could it be to turn it into a Bluetooth USB dongle? As it turns out, not hard at all, and it works in Home Assistant perfectly.
It’s truly a Swiss Army Knife of USB sticks
I’m consistently blown away
Before I explain how to deploy this at home, note that the Makerdiary nRF52840 MDK is pricey if you only want Bluetooth device tracking. It’s practically a Swiss Army knife of USB sticks, so using it just for Bluetooth tracking feels like a waste.
If you need to add Bluetooth tracking to your smart home, then an ESP32 acting as a Bluetooth proxy is a better investment. I already have multiple ESP32s (and I already use them as Bluetooth proxies, too), but I got the idea when I migrated Home Assistant and discovered I had no Bluetooth device to pass through to the virtual machine… and this USB stick was just sitting on my desk. A standard USB Bluetooth dongle would have worked too, but I don’t own any, so I figured this would be a fun experiment.
The project itself is straightforward: Makerdiary provides many code samples, including a full Bluetooth HCI implementation. It won’t work on Windows (there are no drivers), but the Linux-based Home Assistant OS can read it fine. You also don’t need C or C++ experience, as the instructions only require running a few commands to install “west,” which is the Zephyr meta-tool, and to then compile the code. Zephyr is a real-time operating system (RTOS) developed by the Linux Foundation and Wind River Systems, designed for resource-constrained embedded devices.
To get started, you’ll want to follow the “Install west” and “Get the code” sections on the Makerdiary wiki. This will set up west for you and also download all of the code samples that you need to get started, While we’ll focus on the Bluetooth sample, you’ll also find code samples like the following:
USB mouse emulation
Zigbee coordinator and devices
Thread coprocessor
NFC read and write
To start the build, make sure that you’re in a Python virtual environment, then cd into the “my-workspace” folder and run the following command:
west build -b nrf52840_mdk_usb_dongle zephyr/samples/bluetooth/hci_usb
Once it completes, the file will be saved as “merged.hex” in the build folder. While you can flash this hex file if you wish, it’s better to flash a UF2 compatible firmware as it simplifies swapping firmware whenever you want to install another firmware on the dongle instead. We’ll convert the .hex file to a UF2 file by first installing uf2utils, ensuring that we’re still in our virtual environment:
python3 -m pip install –pre -U git+https://github.com/makerdiary/uf2utils.git@main
Finally, we’ll create our UF2 file which we can retrieve and flash to the dongle. Run the following command:
uf2conv -f 0xADA52840 -c -o merged.uf2 merged.hex
This creates the merged.uf2 file from our merged.hex file, and you can then copy it to your dongle like you would have copied any other firmware file to it. If you’re on Windows, it should be identified as a Bluetooth device, but Windows will say that it failed to start. This is normal, as there are no Zephyr Bluetooth drivers for Windows. However, the Linux kernel and the BlueZ Bluetooth stack support it.
Using the Zephyr Bluetooth dongle in Home Assistant
It just works
Configuring our new dongle in Home Assistant was incredibly painless. After plugging the USB device into my server which runs Proxmox and a Home Assistant OS virtual machine, I passed through the USB and it was detected instantly. Home Assistant could launch it, and it instantly began picking up Bluetooth Low Energy advertisements.
It was a shockingly painless experience, and I expected that I would need to at least do some work. Yet to my surprise, it was plug and play. After flashing the firmware, Home Assistant instantly played nice with it, and I was able to collect Bluetooth data from all around me again from just the machine running Home Assistant. Even though it’s certainly not what this incredibly versatile piece of tech is best used for, it’s a great example of the stopgap solutions that it can be used for in the absence of the correct hardware.
What’s more, it taught me a lot about what these devices are capable of, and how easy they are to make suit a specific need. If you wanted a Zigbee coordinator you control, it would do the job, for example. Same with Thread: want to dip your toes into the world of Thread without buying a separate dongle? Try it out with an nRF52840 dongle first, and if you like it, then you can make the investment.


