By John Schutt
Copyright shacknews
Sometimes, finding a boss in Borderlands 4 is as simple as exploring a cave. Unlocking Leader Willem to farm for the Rainbow Vomit Legendary Shotgun is a whole ordeal, but one that is more than worth your time. Just don’t expect it to be quick.
How to unlock the Leader Willem boss fight in Borderlands 4
To unlock Leader Willem and start farming the Rainbow Vomit Legendary, you need to complete the Electi Faction questline. It starts with a pair of simple tasks across the two short Enter the Electi side missions, then the final three missions are more substantial. Everything culminates in the fight against Leader Willem and his Order allies.
How to complete Enter the Electi, Part 1
Start part one of Enter the Electi by speaking to Leader Kassandra at Carcadia following your defeat of Callis. You’ll be tasked with going to a Creep nest in the western part of the settlement and grabbing some “food.”
The “food” in this case is, true to Borderlands fashion, bullets. Food for guns. You get it. Return to Carcadia and drop off the crates to complete this first mission.
How to complete Enter the Electi, Part 2
For this second part of the quest chain, you’ll be working with Leader Willem, placing system relays around the Carcadia settlement. Five in total. The order you do them in doesn’t matter, so long as you get all five down.
One of them is on the north side of the area near some chairs and behind a railing, both tucked into a small nook in the wall.
Another is on some scaffolding a bit further west.
You’ll find a third relay spot close to the western entrance to Cacadia, on a lower level to the right of the shop with the red sign. You’ll find the placement point near some bags of unused concrete.
Yet another relay point is at the top of a staircase near the southern edge of the settlement. You’ll pass by a large, red geometric design on your way to it, as well as a barbed wire fence.
The final one is back on the north side, again near the westernmost entrance. It’s to be placed near the final pole of a larger awning near an opening overlooking the Burn.
When you place the fifth and final relay, return to Willem for your reward.
How to complete The Council Divided
The first of the Electi Faction Missions, you start The Council Divided by returning to Levaine back in the Leader’s chamber. Someone has stolen a lot of Carcadia’s weapons, and they need them back. Fast travel to the Judgement’s Lapse Order Silo and head southwest to the Ripper camp.
You don’t need to fight the rippers, just jump to the ladder leading to the weapon crates and grab an Echo Log from inside one. You can get to the crates by jumping on the rusted outbuilding near the structure where they sit, then jumping across the ladder.
The weapons have been moved to a base in the northeasternmost portion of the Burn, which is your next stop (but do stop at the bridge waypoint near the Ripper camp to progress the quest).
When you arrive at the base, the weapons become a lesser issue, and you’re redirected to destroy a set of three ships. You’ll first need three bombs.
One of them is on the eastern edge of the base near a large, spherical building.
A second bomb is on the upper level in the northeastern part of the base. Grapple up and find it underneath a massive tangle of pipes.
The third and final bomb is at the western edge of the base behind the loot grill and a wrecked engine.
Now it’s time to make use of those bombs. There are three ships to destroy, and two bombs per ship. Continue further northeast to reach the ships. We’ll be listing them counter-clockwise from right to left.
The first ship’s bomb locations are on the main engine and on a command console on its third floor.
The second ship, the one furthest out to sea to the northeast, has another two bombs to arm.
The first is on the side of one of the main feed pipes.
The second is on the rudder.
You’ll find the final ship’s bomb locations on the back of the engine nearest the rudder.
For the final bomb, look once again on the side of the main feedpipe.
When you’ve planted all the bombs, head back across the water and take the elevator to the detonation point using the elevator beneath the objective marker. A miniboss, MeatMeat, will appear after the ships explode, and he’ll drop another Echo Log to pick up.
There’s a Mole in the Electi Council.
How to complete A Traitor Within
Back at the Leader Chamber, Levaine has another problem. She’ll tell you the settlement needs food. Actual food, this time, and you’re tasked with procuring it from some nearby wildlife.
You’ll be heading about a kilometer to the west, to hunt thresher eggs. Kill four threshers there and take the eggs they drop. You’ll need to pick them up manually. Do the same for three pangolin salivary glands. Then, you’ll need to clear out a group of Order goons.
Next, head to Moxxi’s Bottom’s Up to the south and drop off the food (such as it is) on the counter. You’re then headed to a boneyard further south.
The boneyard is, of course, full of rippers. Kill them, then a few kratch in a nearby cave, and use Levaine’s grapple drone to proceed through said caves. You’ll eventually reach a large arena where Leader Willem has set up a not-so-cunning but still effective ambush.
Clear all the enemies, then head up to the control room. There, you’ll need to line up sets of holographic triangles such that you can shoot through them all at once. Do so four times to unlock Willem’s logs. Give the data drive with the logs to Levaine and listen to her dialogue to complete the mission.
How to complete The Mole’s Gambit
The final mission in the Electi questline is a bit roundabout, and it starts by needing to find and destroy the same relays you installed back in Enter the Electi, Part 2. Do so, and you’ll be sent on a quest to get some EMP device parts.
Luckily, you’ll find all the parts you need at a junk site just north of Carcadia. Clear the rippers there to start your search unmolested.
You’ll find the first EMP part, the main housing, in the eastern portion of the junkyard. It’s a large, spherical device.
The second piece, the detonator, is across the area from the housing on the upper level, next to the pair of stacked doors.
To reach the last piece, head back east, jump up near the frost barrel near the hanging cargo containers, then through those same containers to the uppermost platform to find the antenna.
Now to find out where they put the EMP, head down south near the Rustical Hurl Order Silo, to an Order Convoy. Remove the enemies and hack the terminal to reveal the location of Willem’s synth factory. It’s far to the east.
You’ll be hounded by Order enemies near the entrance to the factory both before and after you grapple up to the main level, but you can ignore them. Your goal here is only to reach the EMP location.
Go to the center of the factory and assemble the EMP. You’ll need to survive 91 seconds of enemies while the device charges. Do that, and you can start making your way to Willem. He’s not far.
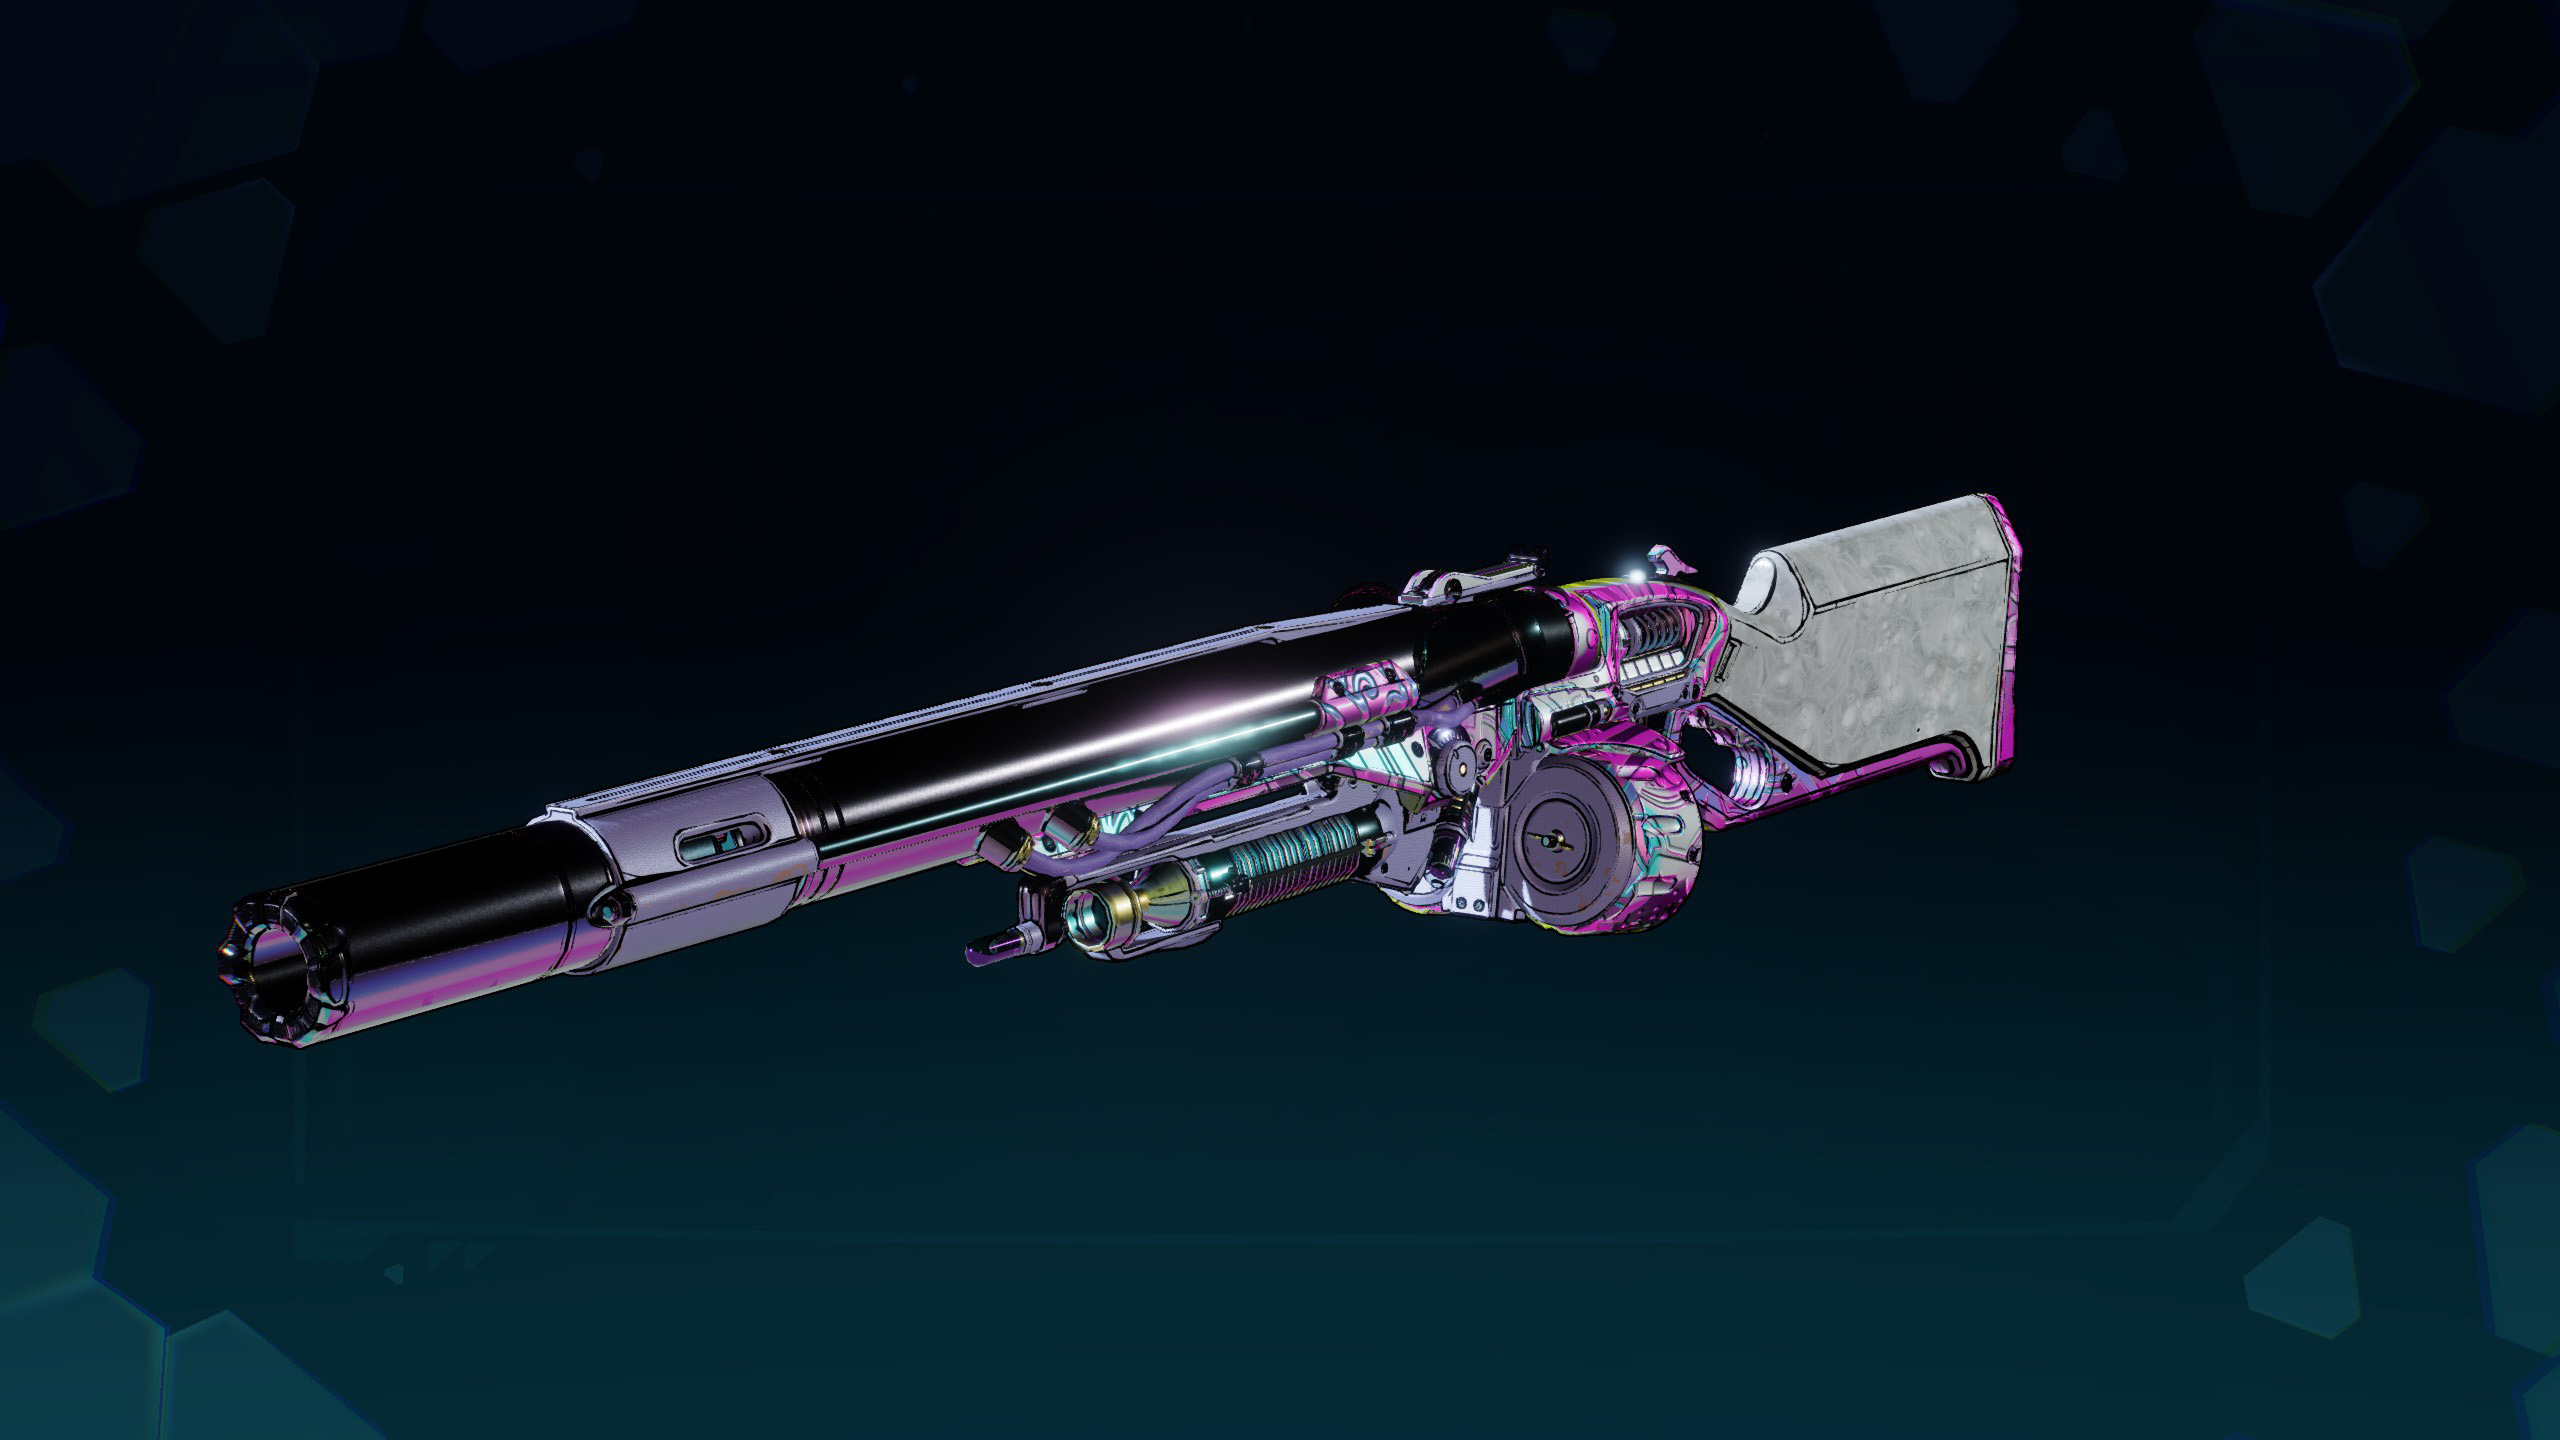
Willem himself has undergone extreme cybernetic enhancement and is aided by several squadrons of Order troops. Defeating him defeats his trash mob allies and unlocks the ability to farm him via the Moxxi’s Big Encore machine in front of the dropdown before his boss arena.
From there, it’s a simple matter of killing him enough times that he drops the Rainbow Vomit Legendary Shotgun. As with any boss drop, there’s no guarantee you’ll get anything you want for any amount of time, but it’s still worth doing.
For more on Borderlands 4, check out our dedicated game page.