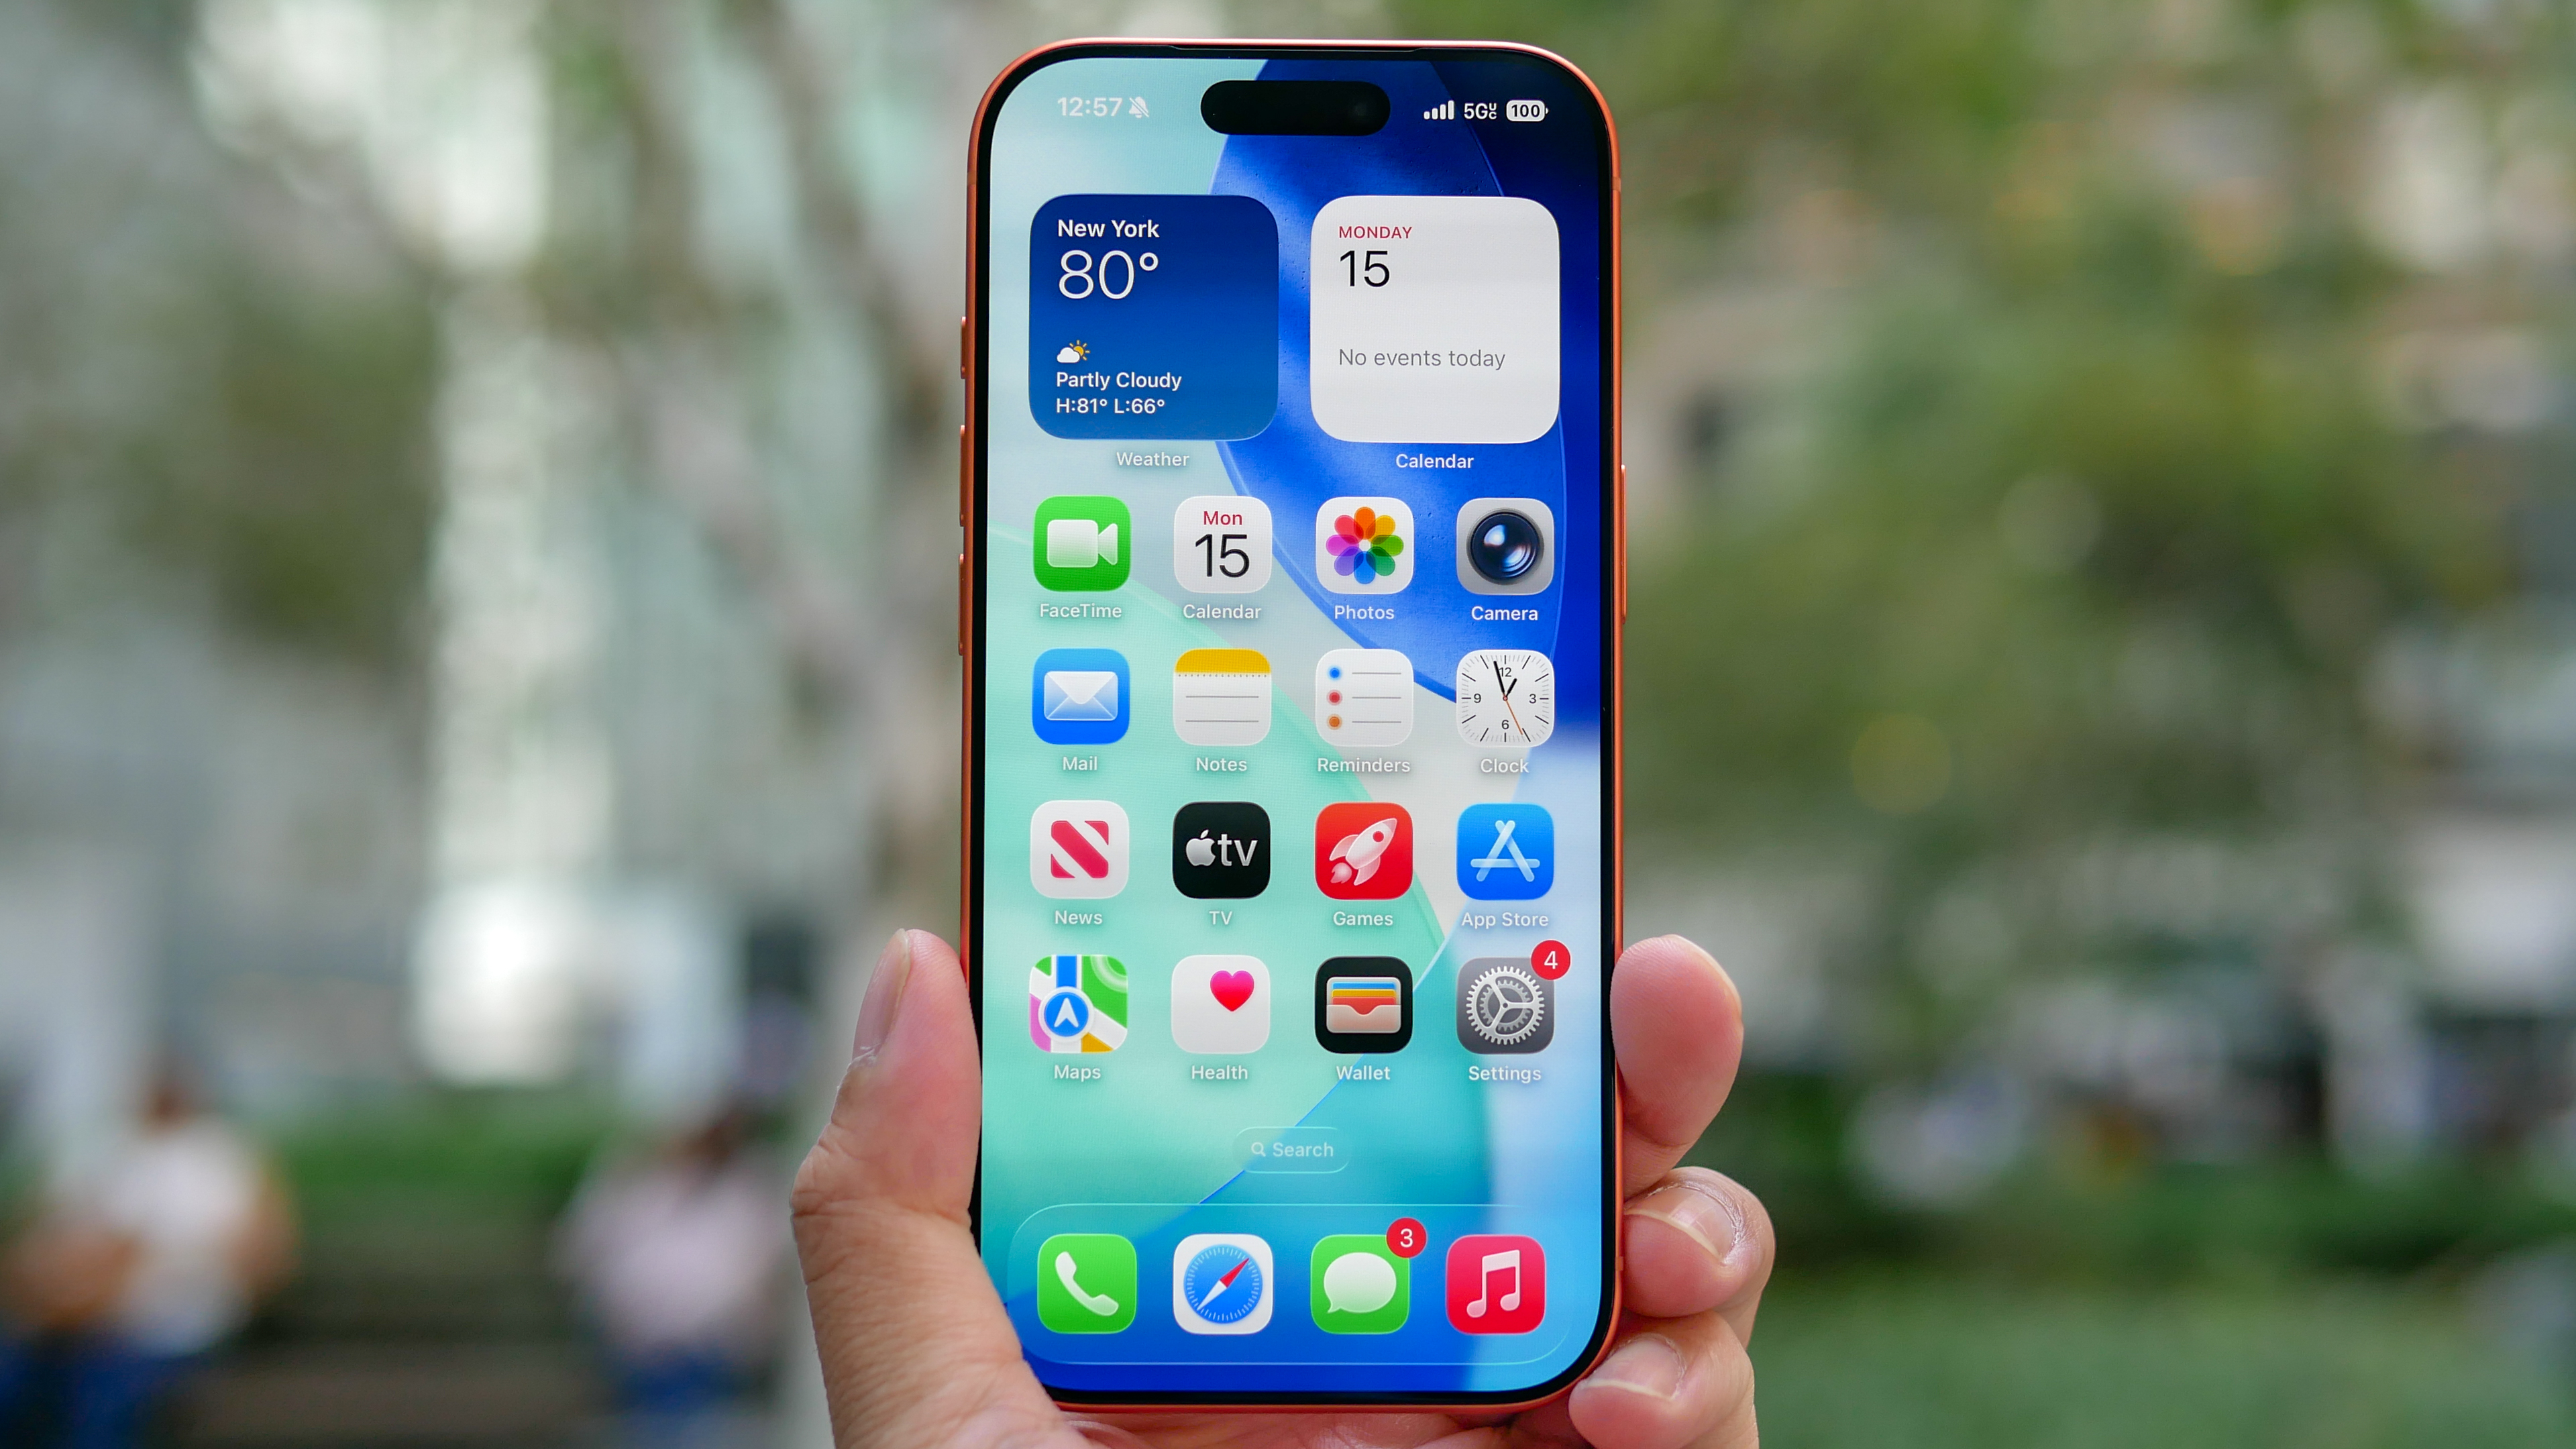
The iPhone 17 is one of the best iPhones you can buy right now, but the excitement quickly fades when you face transferring years of photos, contacts, and apps from your old phone.
Apple makes this easier by providing several reliable methods that work whether you’re coming from an older iPhone or switching from Android. Each transfer method has different advantages depending on your situation.
Each method will get your essential information to your new iPhone, but understanding the differences helps you pick the most efficient option for your specific needs.
Here’s how to safely transfer data from your old phone to your new iPhone 17.
1. Restore from iCloud backup
During iPhone 17 setup, select Restore from iCloud Backup when prompted and sign in with your Apple Account.
Next, choose your most recent backup from the list to begin restoring your settings, apps, and data. Create a fresh backup before starting if your most recent one is over a day old.
Open Settings on your current iPhone, search for “iCloud Backup,” and tap “Back Up Now” to ensure you capture the latest information.
Your new iPhone will restore settings and preferences within 15 minutes, while apps continue downloading in the background.
You’ll need to sign back into accounts and verify app logins once the process completes, but this method requires minimal hands-on time.
2. Use direct iPhone-to-iPhone transfer
Choose the direct transfer option during Quick Start setup to move data directly between iPhones without using iCloud. This method works wirelessly or with a cable connection for faster speeds.
For wired transfer, connect both phones with a fast data cable. iPhone 14 and earlier models with Lightning ports may need a Lightning-to-USB-C adapter to connect to newer iPhones.
For wireless transfer, ensure both phones are charging and connected to Wi-Fi since the process can take over an hour depending on your data amount.
The phones will show accurate time estimates once transfer begins, and this method often proves faster than iCloud restoration on slower internet connections.
3. Create an encrypted computer backup
Connect your current iPhone to a Mac or PC and create an encrypted backup using Finder on Mac or iTunes/Apple Devices app on Windows. Check the “Encrypt backup” box and create a password you’ll remember.
This method preserves all app login information, eliminating the need to sign back into every app individually. The encrypted backup captures more data than standard backups, including saved passwords, Health data, and app-specific settings.
Restore your new iPhone by connecting it to the same computer and selecting the encrypted backup during setup.
Enter your backup password when prompted, and your new iPhone will become an exact copy of your previous device with all accounts still logged in.
4. Use Move to iOS app when switching from Android
Download the free Move to iOS app from Google Play Store on your Android device before starting iPhone setup. This Apple-created app transfers contacts, photos, videos, messages, and other essential data directly.
Start iPhone 17 setup and select “Move Data from Android” when prompted. The Move to iOS app will generate a connection code that you enter on your Android device to establish a secure transfer connection.
Connect both devices to the same Wi-Fi network or use a USB-C cable for faster transfer speeds. The process won’t transfer locally stored music files or PDFs, but handles most important personal data including photo libraries and messaging history.
Follow Tom’s Guide on Google News and add us as a preferred source to get our up-to-date news, analysis, and reviews in your feeds. Make sure to click the Follow button!
More from Tom’s Guide


