One of gardening’s best secrets is that it’s fairly easy to produce your own free new plants by persuading cut branch tips to grow roots.
A surprising number of trees, shrubs, evergreens, roses, fruit bushes, and flowers can be propagated by tip cuttings, which is how growers produce so many of the plants you’ll eventually find in pots at the garden center.
Home gardeners can do the same thing with a few basic techniques and the right timing.
However, the caveat is that many of today’s plants are protected by patent laws, which means it’s illegal to produce “babies” from patented varieties.
While patents are mainly filed to keep competitors from growing and selling the owner’s creation or coveted discovery, it’s also technically illegal for home gardeners to root cuttings for their own use.
So if you’re giving this a shot, check your labels to see if there’s a trademark or patent symbol next to the plant’s name, along with a notice that propagation is illegal.
Non-patented varieties, straight species, and plants whose patents have run out (usually after 20 years) are in the clear.
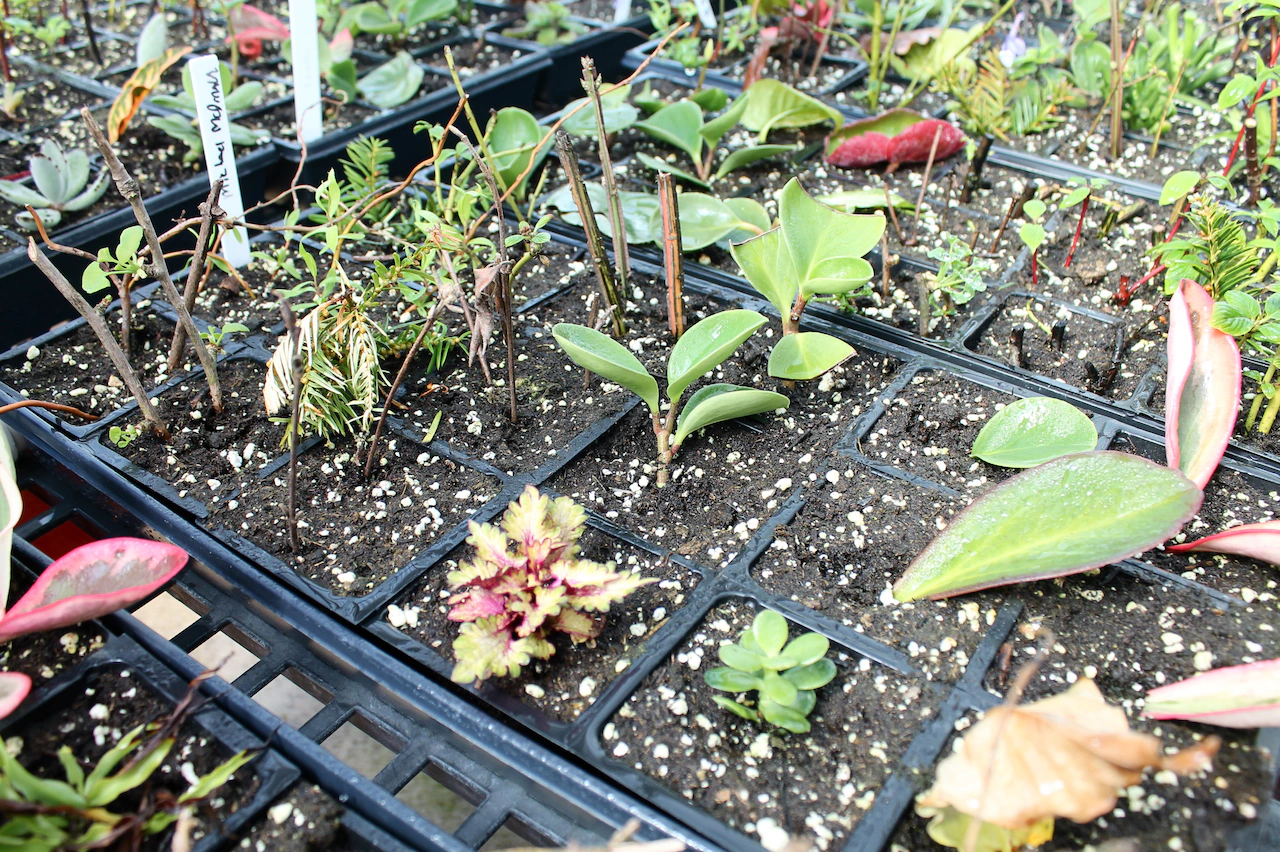
The basic idea of tip cuttings is to snip tips off of the branches of parent plants and persuade them to root in potting mix. Once roots emerge from these cuttings, you have a new baby plant.
Some plants do this much easier than others. Coleus, begonias, lantana, salvia, geraniums, butterfly bush, boxwoods, Persian shield, umbrella plant, and elderberry are some of the easiest.
But even if you fail, you have little to lose but your time and a lot to gain, i.e. free plants.
A bonus of cuttings is that it gives you exact copies of the plant you’re reproducing. Seeds give more variable results.
September is a good month for rooting cuttings from annuals, tropicals, perennials, and even many trees, shrubs, and evergreens.
It’s especially important to get busy now on tender plants that will die once frost hits.
With woody plants, if you fail now, don’t give up. Timing makes a bigger difference with them. If cuttings don’t “take” in fall, try again with cuttings from younger branch tips next June.
Here’s a cutting how-to:
1.) Cut four- to six-inch tips off of the end of healthy stems or branches.
2.) Remove the lowest leaves so that at least one — and preferably two — sets of nodes are bare. Nodes are the point from which shoots emerge. They’re also where new roots will emerge from cuttings.
3.) Treat the cut end with a rooting hormone powder (available at most garden centers). Hormones help, but many cuttings will root even without it. Ideally, pour the powder onto a clean surface and roll the cut end into it. Dipping cut ends into the powder container can spread infection in case one of your cuttings is diseased.
4.) Insert a pencil into a pot filled with light-weight potting mix or seed-starting medium to create a small hole. Insert the powdered end of the cutting into the moist rooting medium, covering the nodes.
5.) Water well, and cover the pot with clear plastic wrap or a plastic bag to maintain a moist environment.
6.) Set pots in light, but not direct sun. Make sure they don’t dry out. Cuttings should be taken inside before any inkling of frost. When small leaves emerge, that’s a signal roots are establishing.
7.) Remove the plastic, and treat the rooted “start” as you would any other young, potted plant. Keep the potting mix damp, and begin adding a dilute fertilizer to the water every other week.
See George’s video on how to start plants from cuttings.