ABS has a reputation for being one of the more difficult filaments to work with. Even experienced makers often throw up their hands and stick to PLA or PETG when ABS refuses to behave. The usual advice is simple: if you don’t have an enclosure, don’t even bother. For years, I accepted that advice as fact and avoided ABS almost entirely, convinced it would only waste time and plastic.
Eventually, though, curiosity got the better of me. I wanted the strength and temperature resistance of ABS without building or buying a bulky box to house my printer. After a long series of experiments, I found a combination of tweaks that let me succeed. It wasn’t easy, and it’s not a one-size-fits-all solution, but it proved that the “must have an enclosure” rule isn’t as absolute as it sounds. The breakthrough came slowly, but once I saw consistent results, I knew I had cracked it.
It wasn’t easy, and it’s not a one-size-fits-all solution, but it proved that the ‘must have an enclosure’ rule isn’t as absolute as it sounds.
Why ABS usually needs an enclosed 3D printer
Warping, drafts, and brittle failures explained
ABS cools quickly and unevenly, which can cause it to come off the bed or split between layers. That’s why enclosures are usually considered non-negotiable: they trap heat around the printer, preventing drafts from pulling your part apart mid-print. Without one, even slight breezes from a ceiling fan or nearby window can ruin a job. Bed adhesion is also notoriously tricky compared to other filaments, which compounds the frustration when parts curl or peel away mid-build. Keeping everything stable is the challenge that enclosures solve so well.
Beyond print quality, there’s also the issue of fumes. ABS gives off styrene when heated, which can irritate your lungs and is best avoided in high concentrations. Enclosures help by keeping those fumes contained and giving you the option to filter or vent them safely. Printing without one means you need to be mindful of your environment, ensuring you’ve got good ventilation or an air purifier nearby. I learned quickly that cracking a window or running an air purifier was not optional but essential if I wanted to print responsibly.
Styrene isn’t just an unpleasant smell — it can affect your body if you’re around it too much. The CDC notes that exposure most often impacts the nervous system. People have reported issues like fatigue, slower reaction times, difficulty concentrating, and even problems with balance or vision. It’s a reminder that ventilation isn’t optional when working with ABS.
Despite these challenges, I decided to push ahead. The risk of failure was high, but so was the payoff: stronger, heat-resistant parts without extra gear taking up space in my already crowded workspace. I had to reframe the process from “press print and hope” to something more deliberate and methodical. Each failure provided me with new insights into what went wrong and how to make adjustments. That trial-and-error approach eventually revealed that a carefully controlled environment could stand in for an enclosure, at least for smaller jobs.
Tweaking my print environment to make up for the lack of an enclosure
Controlling airflow and ambient heat without a box
My first priority was eliminating drafts. I set up the printer in a room where I could close the doors, block the vents, and minimize air currents. Even the slightest gust from an air conditioner was enough to crack a layer line in early tests, so I learned to treat airflow like the enemy. Creating a consistent environment was the foundation of everything else. Without that baseline of stability, no slicer setting or surface tweak could make a difference.
I also paid attention to ambient temperature. ABS prints far better when the room isn’t chilly, so I timed longer jobs for the warmest part of the day. Some makers even use temporary barriers like cardboard walls or fabric shields to retain heat, but I found controlling the room itself to be the most reliable option. It made a surprising difference in how stable prints came out, especially on taller parts. The fewer environmental swings, the more likely the part was to survive the whole job.
None of this perfectly replicates the thermal stability of an enclosure. What it does provide, though, is enough consistency to keep smaller to medium-sized parts from curling or splitting. That gave me a starting point to refine other variables like slicer settings and materials. In a way, it forced me to become more disciplined with preparation and planning. I couldn’t just hit “print” casually, but the effort paid off once I saw parts sticking and finishing successfully.
Finding the right slicer settings for ABS printing
Heat, speed, and cooling adjustments that mattered most
Tweaking the slicer was where things really started to turn around. I ran the nozzle hotter than I would for PLA, usually in the 240–250°C range, and set the bed to at least 100°C. These higher temperatures gave layers more time to bond before cooling could cause trouble. Even minor deviations in temperature had noticeable effects, so I learned to double-check thermistor calibration and preheat times. That attention to consistency helped reduce sudden failures.
Print speed was another factor that couldn’t be ignored. Slowing down outer walls and reducing overall speed helped parts maintain their shape and adhesion. It felt like a balancing act — too slow and the part sagged or bulged, too fast and it split or delaminated. Through trial and error, I found the sweet spot that worked for my machine. Once I dialed in those values, I stuck to them religiously for ABS jobs.
Cooling had to be carefully managed as well. For PLA, you want fans blasting from the start, but with ABS, I turned them completely off for the first few layers. Later in the print, I would only introduce minimal airflow if overhangs demanded it. Too much fan speed at the wrong time caused instant cracking across layer lines. The restraint felt counterintuitive at first, but it proved crucial to consistent results.
Material and hardware choices make all the difference
Filament, bed surface, and printer mods that helped
Not all ABS is created equal, and I learned that lesson the hard way. I had much better luck with so-called “ABS+” blends, which are slightly modified to resist warping. Some brands consistently gave me cleaner results, so I stuck with those for testing. A little trial shopping saved me a lot of failed prints and frustration. Once I found a reliable spool, I treated it like gold.
The print surface mattered just as much as the filament itself. On bare glass, adhesion was unreliable, and parts popped loose far too often. Switching to a PEI sheet provided the filament with a surface it could consistently grip, and adding a brim or raft further improved the situation. When adhesion still proved stubborn, I fell back on the old trick of an ABS slurry applied to the bed. These measures didn’t just keep parts in place; they gave me peace of mind to start longer prints without hovering nervously.
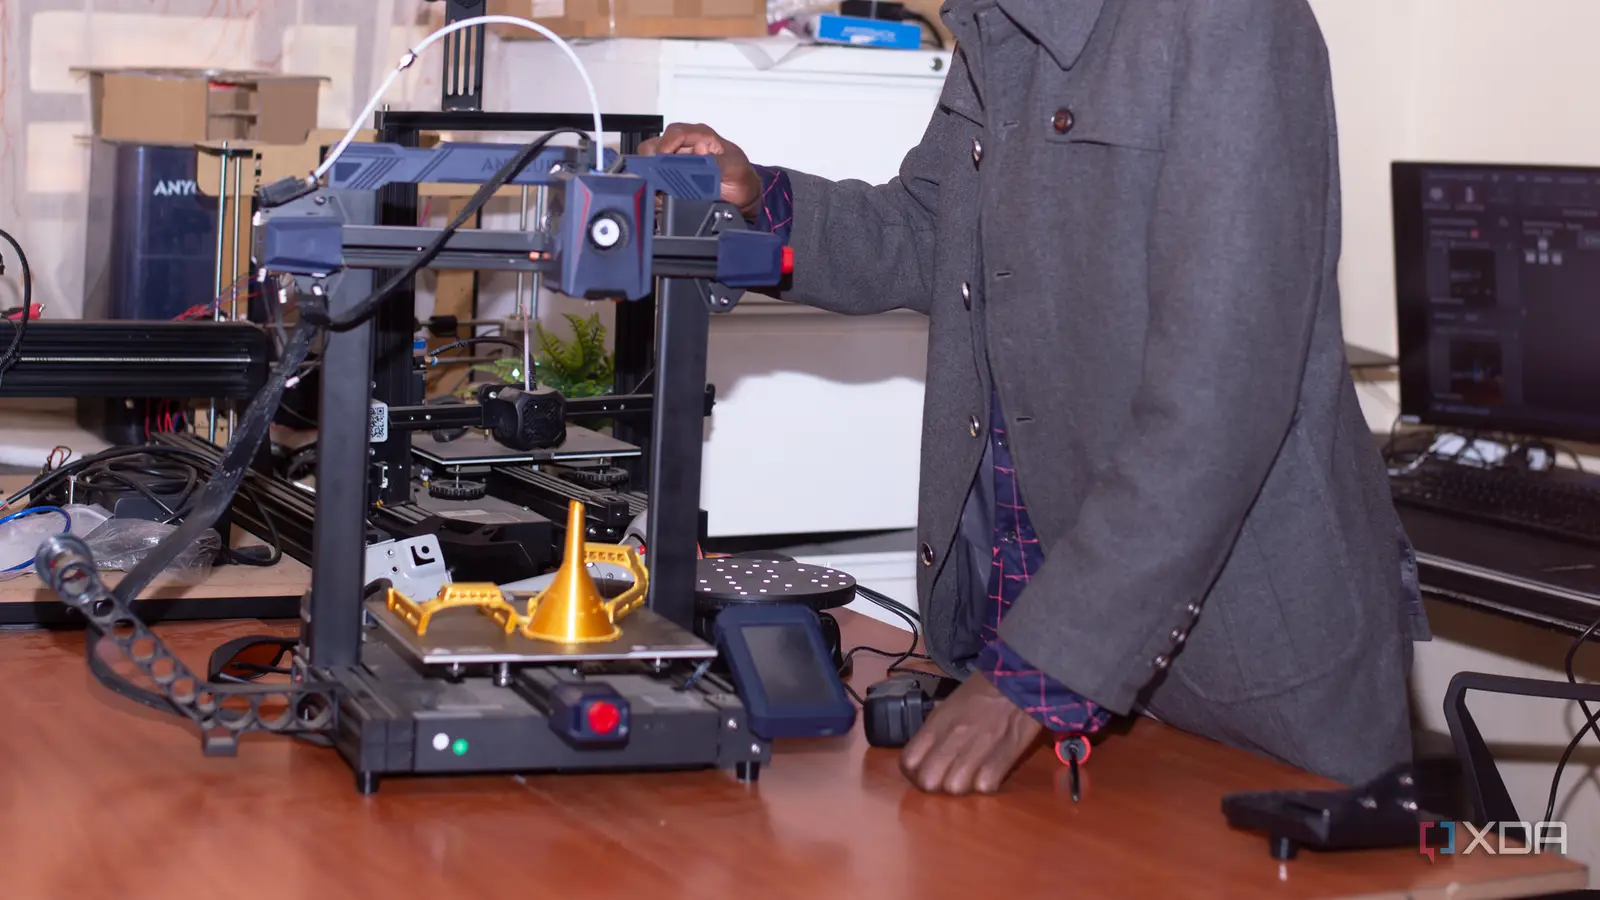
Hardware also played a role in the outcome. My printer has an all-metal hotend that can handle sustained high temperatures without degradation. The heated bed maintained consistent heat across the plate, which kept corners from lifting and edges from curling. These weren’t huge modifications, but they made the process less frustrating overall. Without them, the odds of success would have dropped sharply. Over time, I came to appreciate how much solid hardware can reduce the margin for error.
Why this method works for me
Balancing expectations and realistic limitations
I won’t claim this setup replaces a proper enclosure. Larger prints are still prone to failure, and the effort to control the environment adds a layer of hassle. That said, for parts within a modest footprint, I’ve been able to print reliably enough to call it a success. The learning curve was steep, but the payoff was having ABS parts I could trust for real-world use. For my needs, that trade-off was worthwhile.
There are good reasons many makers won’t bother without an enclosure. The repeatability is lower, and safety concerns with fumes are real. Anyone printing in a shared space should still consider at least a partial enclosure with ventilation built in. It’s not bad advice, it’s just not the whole story. My results show that with care and patience, these limitations can be overcome.
For hobbyists who lack the space or budget for a box, though, this approach opens the door. It proves that ABS isn’t out of reach, provided you’re willing to put in the time and persistence. I had to accept higher failure rates at first, but as my settings and environment stabilized, the successes outnumbered the duds. That balance gave me the confidence to take on bigger projects than I thought possible. For me, breaking this “rule” expanded what I could do with the hardware I already had.
What this means for hobbyists
ABS doesn’t have to be off-limits if you can’t or don’t want to use an enclosure. With careful adjustments to your environment, slicer settings, and materials, you can get dependable prints that are strong and heat-resistant. It demands more attention than other filaments, but the results are rewarding once you see a successful job completed. Each win builds on the last, making it easier to repeat success over time.
Instead of thinking of enclosures as mandatory, it’s better to see them as a helpful tool that makes the process easier. They smooth out many of the bumps, but with enough care, you can achieve similar results on your own. For me, figuring this out wasn’t just about proving a point. It gave me more freedom in how and where I print. That flexibility is what makes this journey worth sharing with other makers.