In order to complete the Far Fields area and continue to progress through Hollow Knight: Silksong, you’ll need to obtain the glide ability. And in order to do that, you’ll need to accept and complete the quest “Flexile Spines.”
Although framed as a Wish (a term normally reserved for sidequests), “Flexile Spines” is an absolutely necessary part of the Silksong experience with a worthy reward: the Drifter’s Cloak, which allows you to glide across long gaps and ride wind currents upward. Obtaining the Drifter’s Cloak also unlocks the area boss and allows you to progress through the story of Hollow Knight: Silksong.
How To Get The “Flexile Spines” Quest
Find The Seamstress
The Seamstress is located on a raised platform in the Far Fields area of the map, at exactly the location indicated above. In order to accept the “Flexile Spines” quest, start from the large central room in the Far Fields region, and platform your way up to her hut.
You’ll need the dash ability (Swift Step) in order to do this. If you’ve yet to unlock it, head back to the northern part of Deep Docks and interact with the altar. Getting there does require dealing with a bit of the Hunter’s March area.
Travel to the very bottom of the central room in Far Fields, on the small rocky platform just above the lava.
Jump up and to the right onto the two smaller platforms, then again into the short corridor.
Jump across the wind current (no need to glide yet) and to the right.
Jump up and to the right again, then jump and dash back across the wind current to the higher platform on the left.
Jump up the hanging platforms to the left and enter the floating tent.
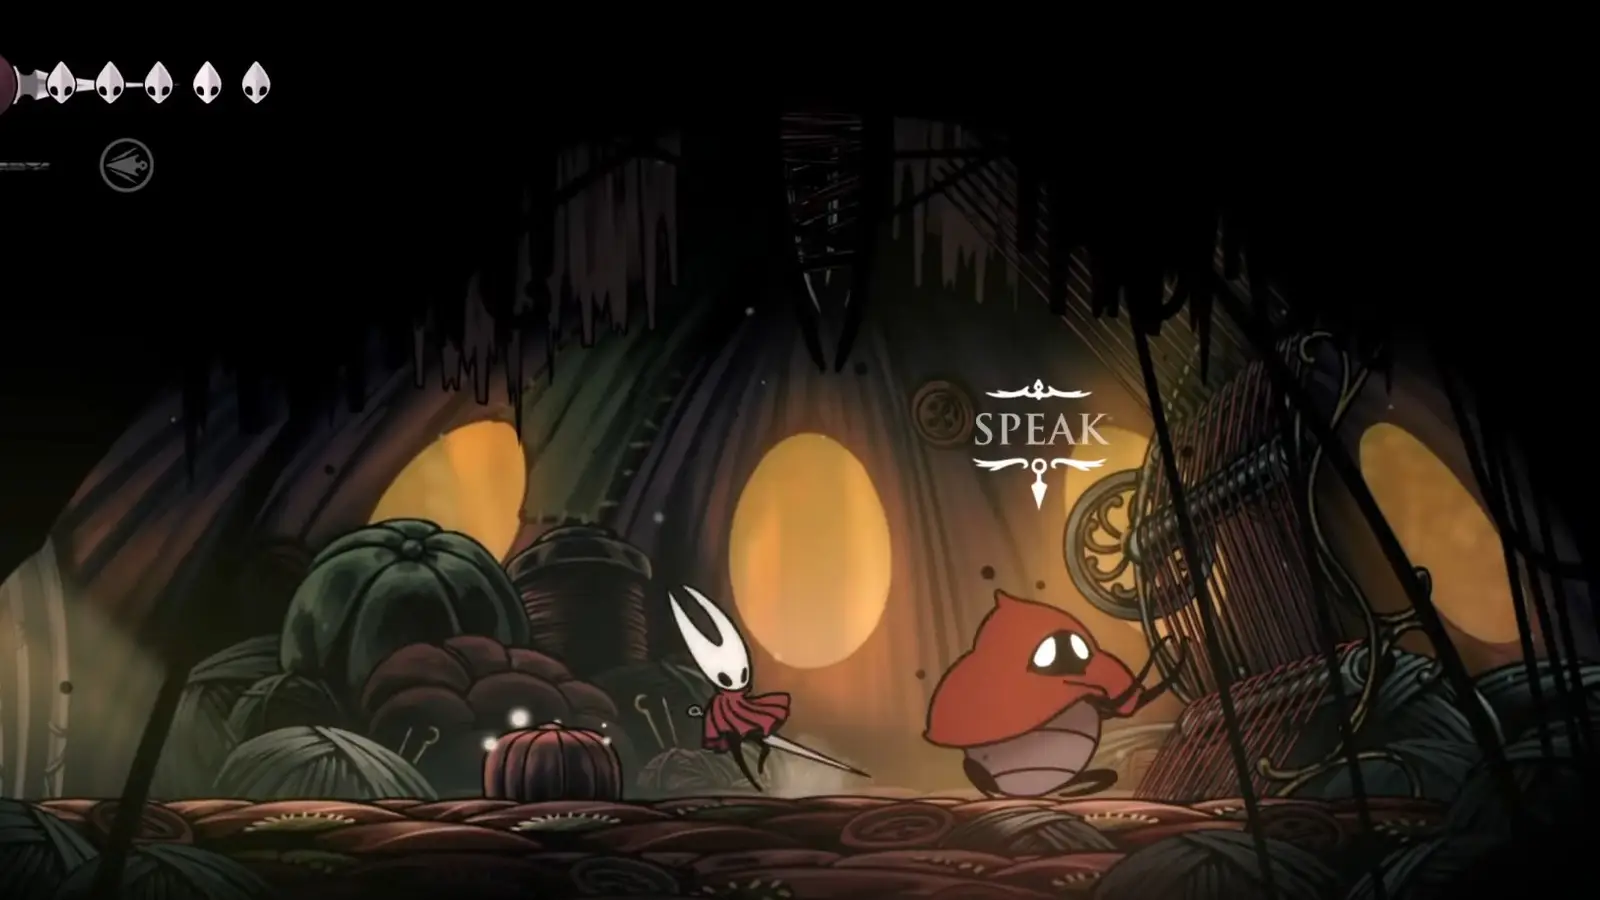
Once inside the Seamstress’ home, speak with her to accept the “Flexile Spines” quest. In short, she offers to make you a new piece of clothing, but requires 25 Spine Cores from several Hoker enemies in order to do so. You must accept the quest in order to begin collecting Spine Cores.
Getting The Spines
Unlike other collectible Wishes in Silksong, The Spine Cores don’t have fixed locations; they can be found wherever Hokers exist. These floating, circular enemies primarily spawn in the areas just east of the Seamstress’ hut. You’ll have to farm Spines from them in order to reach 25 and complete the quest.
You can technically retrieve multiple Spine Cores from each Hoker — they’re readily visible on the enemies’ bodies. Each time you attack them, they’ll fire off all their spines in the directions they’re facing. A few seconds later, they grow a new set in a different pattern.
What you want to do is look for the Spine Cores that get lodged in walls or floors. As soon as the Hoker fires off their spines, chase them down and attack them to dislodge them. Then, simply pick them up as you would any other item.
Do note that the spines despawn after a few seconds. You’ll want to attack the Hoker, run off to collect the Spines while they’re still available (and while waiting for the Hoker to recharge), then run back, attack them again, and repeat.
You likely won’t get every spine available from every Hoker, so you may have to rest at a bench to respawn the enemies and return for more. Either way, you should be able to complete this quest after just a few minutes of farming.
Where To Find Spine Cores
Hoker #1
Again, Hokers primarily spawn in the rooms just east of the Seamstress’ location. From her hut to the first Hoker, you’ll want to take the following steps:
Return right and down the hanging platforms you used to get up to the Seamstress, until you reach the enclosed area with the wind current.
Go immediately right into the next room. Run and jump forward, avoiding the Fertid enemy.
Continue right past two wind currents, jumping up onto the higher platform. Jump again and dash left to reach a floating island.
The Hoker will be right above you.
Hoker #2
Jump back down to the lower platform and continue right. The second Hoker should be straight ahead.
Hoker #3
Head right from the previous Hoker. Jump up from one floating platform to the next, repeating until you encounter the third Hoker at the top.
You’ll have to use aerial attacks to hit this one, which puts you at risk of getting hit when it fires off its spines. Its inaccessible location also makes it difficult to collect the spines and return speedily. While you certainly can gather Spine Cores from this Hoker in order to complete the quest, I recommend prioritizing others.
Hoker #4
From the previous Hoker, continue platforming upward until you reach the top of the room.
Head right into the next area.
Jump across the next set of spikes; the Hoker will be floating right on top of you.
Hoker #5
Continue through the same room as the previous Hoker and jump across the large bed of spikes. The Hoker will be on the small island before another large bed of spikes. (I accidentally killed this one before taking the screenshot, oops.)
Hoker #6
Continue right and drop to the platform below you. Look down to see the next Hoker. Like #3, this one’s in a bit of an awkward spot and surrounded by spikes, so consider skipping it on your Spine Core runs.
Once you’ve beaten as many Hokers as your patience will allow, go back to the bench in the Seamstress’ hut, rest, and repeat until you hit 25 Spine Cores. Then, return to the Seamstress to unlock the Drifter’s Cloak (glide) ability.
This ability makes it much easier to get around Far Fields. It also allows you to exit the area and move onto further areas of Silksong’s map — specifically Greymoor, from which you can access Bellhart, Verdania, Wisp Thicket, and Sinners Road.
Afterward, you can also return to the area southwest of the Seamstress’ hut to face Fourth Chorus, the area boss. Although this boss’ clear tells and predictable moveset don’t rank it among the hardest bosses in Silksong, it’s a fun little fight that’ll put your new gliding skills to the test.