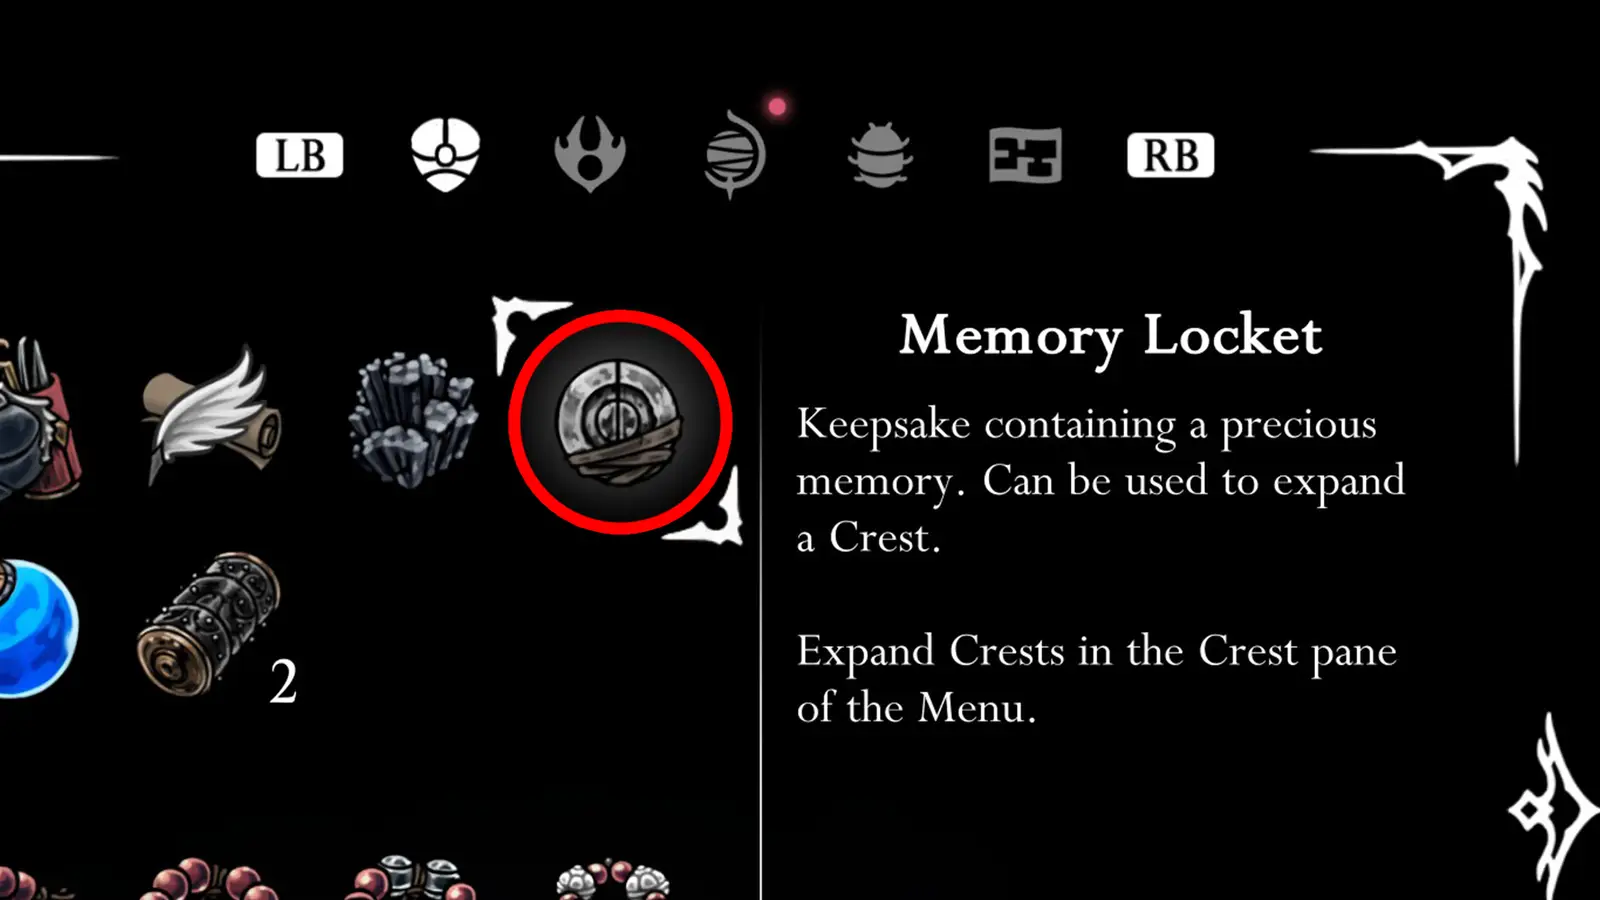
Collecting Memory Lockets is an important part of powering up over time in Hollow Knight: Silksong. They serve exactly one purpose: to upgrade the crests you find throughout the game, opening up new accessory slots when you use them at benches.
There are exactly 20 Memory Lockets scattered around the map of Hollow Knight: Silksong, and you’ll find them in all sorts of unlikely places: hidden rooms, merchants’ inventories, quest rewards, et cetera. Here’s a complete guide to finding every Memory Locket in Hollow Knight: Silksong so that you can power up your crests early and often.
Memory Locket #1
Far Fields — Pilgrim’s Rest
Likely the first Memory Locket you’ll be able to access in Silksong isn’t available until you make it to Far Fields. You can find it at Pilgrim’s Rest, inside the building you have to pay to enter; buy it off Mort for 150 Rosaries.
If you make it to Act Three of Silksong without buying this Memory Locket from Mort, you’ll be able to buy it from Grindle the thief instead.
Memory Locket #2
Far Fields
Head to the northeast of our first Memory Locket to this long, narrow corridor in Far Fields. Defeat the Skarrgard here (go to Deep Docks to unlock the dash if you haven’t already) and claim another Memory Locket on the corpse of the bug behind it.
Memory Locket #3
Deep Docks
This Memory Locket isn’t available until you’ve gained the glide ability (clear Far Fields) and hit Deep Docks.
Travel to the location indicated above, near the magma area in the south. Break the wall to your left and continue on.
Glide carefully down the red-hot chamber, avoiding the molten walls and the spikes.
The Memory Locket is on a small platform at the bottom.
Memory Locket #4
Hunter’s March
We’ve put it off as long as possible, but it’s time to head to Hunter’s March for our next Memory Locket.
At the rightmost point of the room indicated above, there’s a dead bug in a hanging cage.
Attack the cage to knock it down, and collect the Memory Locket that bounces out.
Memory Locket #5
The Wormways
Once you’ve made it to The Wormways, head to the southwestern room as indicated above. The Memory Locket here is on a dead bug in the southeastern corner of the area. Sensing a trend here?
Memory Locket #6
Greymoor
When you first reach Greymoor after passing through Far Fields, head to the southwestern area indicated above.
Go west a screen and continue down until you reach the Bellway station.
Turn around and run left, jumping off the ledge and through the hole onto the next screen.
Work your way down the platforms in this hidden room, then jump over the gap to your left.
Avoid or defeat the Mitemother, then run left and work your way up to the platform directly above it.
You’ll find the Memory Locket next to a dead bug here.
Memory Locket #7
Bone Bottom
Once you’ve hit Greymoor, return to Bone Bottom and check the Wishboard. Accept the sidequest called “Volatile Flintbeetles,” then go and defeat the requisite enemies in the northern part of The Marrow.
Return to the Wishboard with three Flintgems to complete the quest. Your reward will be another Memory Locket.
Memory Locket #8
Bellhart (Frey)
Complete the Bellhart quest by defeating Widow in Shellwood. Return to Bellhart afterward, and you’ll be able to purchase a Memory Locket from Frey for 330 Rosaries.
Memory Locket #9
The Marrow
This Memory Locket is located in The Marrow, but you’ll need the wall jump ability to access it. Come back here after you’ve completed Bellhart to pick it up.
Travel to the northernmost point of this map as shown in the map image above, then head right a screen.
Run right and wall jump up to a short corridor.
Continue right and pick up the Memory Locket next to a dead bug.
Memory Locket #10
Blasted Steps
Head to the point on the Blasted Steps map indicated above. The Memory Locket is hidden in a lower corridor; you’ll have to glide over the sand to avoid getting eaten by sandworms.
Memory Locket #11
Sands Of Karak
Travel to the point above on the Sands of Karak map. Attack the yellow bulb on the platform to grow a red vine; follow the platforms extending from it to the left, wall jumping as needed, all the way to the end to find another Memory Locket.
Memory Locket #12
Bilewater – Exhaust Organ
From this large vertical room on the Bilewater map:
Wall jump up and to the right to reach a new area.
Go immediately left a screen. Continue left, pogo jumping across the exploding bile orbs.
At the left end of this room, wall jump up and across to a small platform to find our next Memory Locket.
Memory Locket #13
Bilewater — Bilehaven
Travel to this point on the east side of the Bilewater map, right next to the bench.
Head east and jump across the wide gap, climbing up onto the higher platform by your preferred means.
Continue all the way east through this next room to find two cocoons.
Attack the cocoon on the right, and a Memory Locket will fall out.
Memory Locket #14
Whispering Vaults
Make your way to this part of your Whispering Vaults map.
From this room, platform up and to the right to reach a tiny hidden corridor. Run right onto the next screen.
Using the gate, wall jump up to the higher area in this next room. Run left onto the next screen.
Head to the top of this room to claim another Memory Locket.
Memory Locket #15
Choral Chambers
Although this Memory Locket is technically located in Choral Chambers, you can only access it through the Underworks.
Drift down through this room, then dash and wall jump to avoid the spikes before running right onto the next screen.
Wall jump up through the next room, exiting through the top left.
Continue wall jumping all the way up through this narrow corridor. Attack the lever at the top to open a passage to the left; follow it onward to find another Memory Locket.
Memory Locket #16
Underworks
Back in the Underworks, travel to the location indicated above. This small northwestern room is directly under the one that leads to Whiteward.
From the left end of this room, wall jump up to the higher platform.
At the right end of the platform, jump up to reach a hidden room.
Head left in the hidden room and drop through the hole to find another Memory Locket.
Memory Locket #17
Memorium
Our next Memory Locket is located in Memorium, the tiny region just north of the Songclave. It’s much more easily reached once you have the double jump ability, so I’d recommend saving it until then.
From the map point indicated above, head left over the beds of spikes to the westernmost point of this room. The Memory Locket is just sitting there.
Memory Locket #18
Greymoor — Halfway Home
This Memory locket is located in the early-game Greymoor region, but you’ll need the double jump to reach it. As a result, you’ll need to return after exploring Mount Fay.
Enter Halfway Home from the left side, and face the left wall. Double jump to the small platform on the left and continue left to find the Memory Locket inside a small, secluded alcove.
Memory Locket #19
The Slab
Although you can explore this area much earlier in the game, you can’t find this Memory Locket during your initial attempt to escape from The Slab. You’ll need to obtain the Silk Soar ability first, which means getting all the way to Act Three.
Travel to this point on your map and use Silk Soar to reach a small secret alcove. The Memory Locket is inside.
Memory Locket #20
Bellhart
For our final Memory Locket, you’ll also need to obtain the Silk Soar ability, then return to Bellhart.
From the bottom of Bellhart, near Frey’s shop, head left.
Jump up onto the staggered hanging platforms, and continue along the platform to the right.
Continue working your way up to the highest point in Bellhart, then stand on the top rung of the ladder in the middle of the two hanging bells.
Activate Silk Soar to move into a new secret area directly above you. The Memory Locket is right there.