Copyright XDA Developers
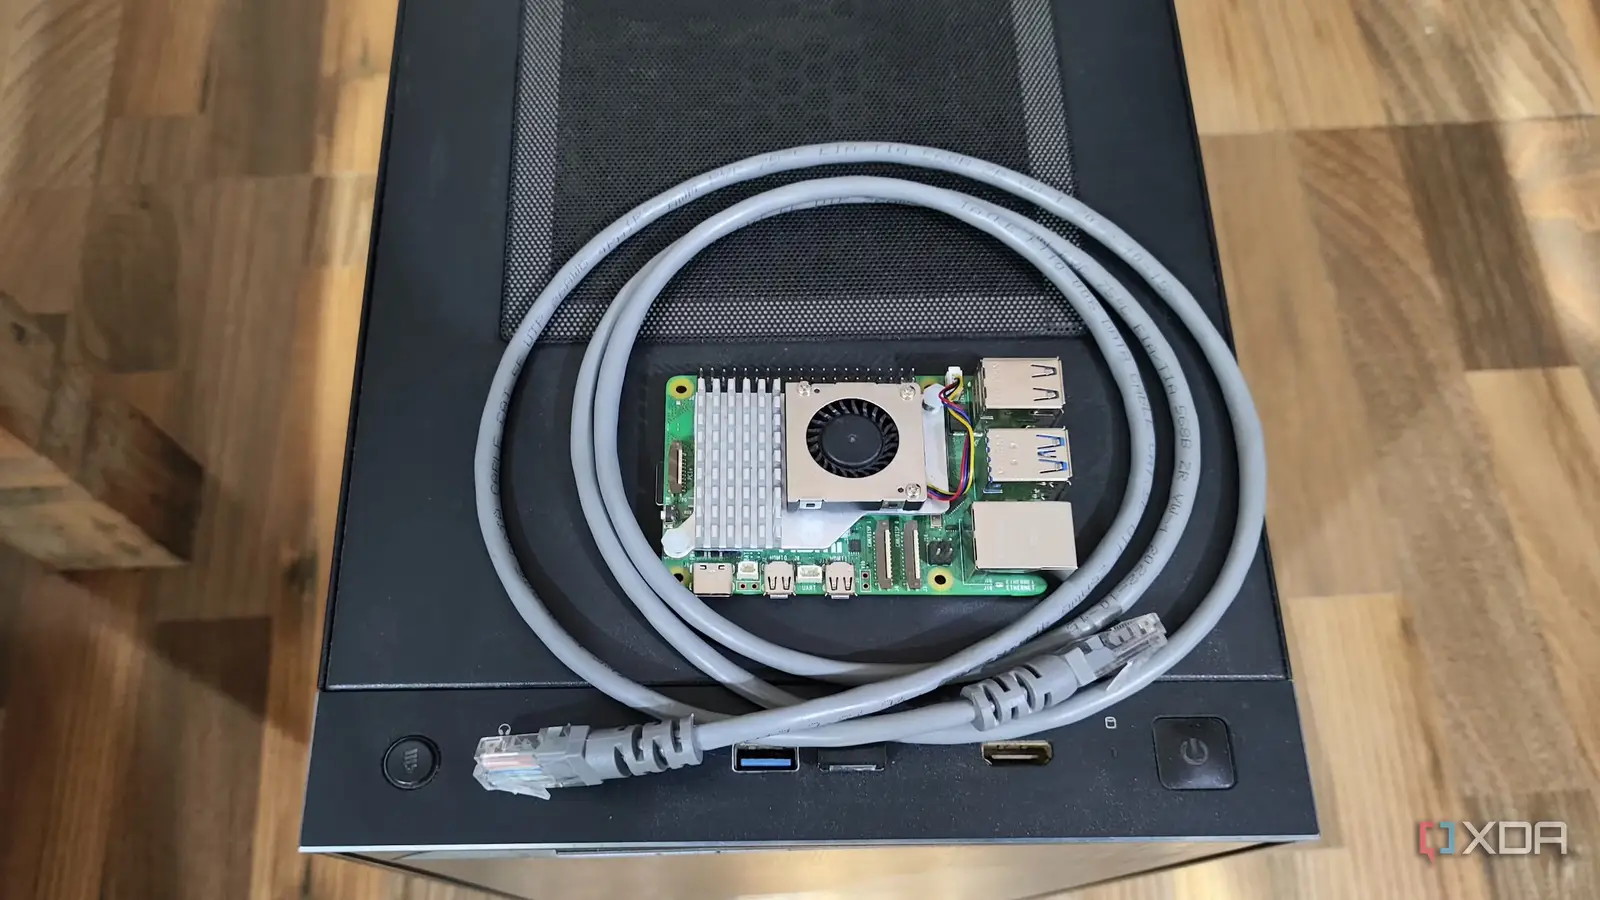
Setting up a Raspberry Pi can be as straightforward or as complicated as you make it. Most people flash an SD card, plug it in, and call it a day. That works fine for hobbyists, but it becomes frustrating once you start running several devices or need to rebuild them often. After replacing and reinstalling too many cards, I started looking for something better. Every Pi on my network now boots exactly the same way, which keeps my entire environment consistent and predictable. Booting my Raspberry Pi over the network changed how I manage every device I own. It eliminated one of the most fragile parts of the setup and gave me far more flexibility. It took a bit of learning to configure it all, but the effort paid off almost immediately. I now spend less time fixing problems and more time experimenting with new ideas. Why I moved to network booting Flashing cards was slowing me down SD cards are convenient until they start failing. Over time, they degrade from the constant read and write activity, and when that happens, you risk data corruption or total loss. For someone who runs services like Home Assistant, Pi-hole, and Uptime Kuma, that’s not something you want to deal with. I reached a point where re-imaging cards had become a regular chore, and it was apparent that I needed a better approach. Switching to an SSD helped, but not all my Pi boards support that. Network booting removed that weak point completely. My Raspberry Pis now load their operating systems directly from an image stored on my NAS, and it has been far more reliable. I can back up the image at any time, or even mount it on another system to make changes without touching the hardware. When an update is ready, I update a single master image, and all my devices benefit at once. This setup also meant I could stop buying SD cards altogether. That might sound like a small win, but it saves money and reduces waste over time. More importantly, it removes a constant maintenance burden from the equation. Every Pi on my network now boots exactly the same way, which keeps my entire environment consistent and predictable. The result is less downtime and a much cleaner workflow. Centralized management made life easier Managing multiple Raspberry Pis used to be messy. Each device had its own card, configuration, and quirks. Even labeling everything didn’t help much when one of them failed, because recovery always meant rebuilding from scratch. Once I switched to network booting, that entire process improved. Now, I can create or clone complete environments in minutes. If I want to test a new configuration or service, I simply copy the image, tweak a few settings, and reboot the device. If something breaks, I restore the image from a backup, and everything is right where it was. It’s an incredibly efficient way to experiment without risk, and it makes tinkering feel less like work. It also gives me peace of mind knowing that no single device is irreplaceable. If a Pi fails, I can plug in another unit, assign the same hostname or MAC address, and it will pick up where the old one left off. This kind of redundancy used to require expensive hardware or cloud infrastructure, but with network booting, it’s built right into my local network. It’s an elegant solution that fits perfectly into a home lab. Performance and reliability both improved One of the most noticeable improvements was speed. Even though the Pi boots over Ethernet, read and write performance is far better than I’ve ever seen with SD cards. System updates apply faster, logs write more consistently, and services start without delay. It feels smoother, especially when working with heavier tasks like database-driven apps or media servers. Reliability also improved across the board. Since the image lives on a more stable storage medium inside my NAS, I no longer worry about random corruption or card wear. I can also snapshot the entire system and roll it back to any previous state in seconds. That makes updates much less stressful, since recovery is always just one click away. After using it for several months, I’ve realized how big a difference it makes for long-term maintenance. My Raspberry Pis stay online longer, recover faster, and require less hands-on care. For a setup that used to demand regular babysitting, that’s a significant improvement. It’s one of those quiet upgrades that changes everything about how you work. What you need to make it work Hardware and network requirements Before you start, it’s essential to know which models support network booting. The Raspberry Pi 4 and Raspberry Pi 5 can both do it natively once the bootloader EEPROM is updated. The Raspberry Pi 3 Model B can, as well, with some command-line trickery to ensure the USB boot mode is correctly set. You’ll need a wired Ethernet connection, a DHCP server, and a TFTP or NFS server to provide the boot files. Wireless booting isn’t supported yet, so a stable network cable is essential to ensure a smooth startup. As you explore how best to network boot your Raspberry Pi, be sure to look closely at which version of the Raspberry Pi OS you use. Boot options moved to /boot/firmware as of Raspberry Pi OS 12 (Bookworm), and other changes might be included in the newest version, Trixie. Having a NAS or home server helps a lot. It acts as the central repository for your Raspberry Pi images and handles file delivery during boot. The faster your network and storage, the better the results you’ll see in day-to-day performance. Gigabit Ethernet makes a noticeable difference, especially if you’re running multiple Pis from the same image or mounting shared directories across devices. If you’re new to networking, this setup might sound complicated, but it’s manageable. Most of the configuration only needs to be done once. After that, you’ll rarely touch it again unless you’re adding new devices or testing new operating system versions. Once configured, it becomes part of the background of your home lab, quietly doing its job without demanding attention. Setting up the boot environment Once you’ve confirmed that your hardware supports it, the next step is to enable network booting in the Pi’s bootloader. This can be done through the Raspberry Pi Imager or by running a simple terminal command to change the EEPROM settings. From there, you’ll configure your server to host the OS image using either NFS or TFTP, depending on your network setup. Your Pi will then locate the boot files over the network and start the operating system as if it were booting from an SD card. You can assign each device its own image or point several devices to the same one for a unified environment. I prefer keeping separate directories for each Pi to make troubleshooting easier, but either method works well. Once you’ve got the hang of it, the process feels surprisingly straightforward. The process might take some trial and error the first time, but it’s worth the effort. Every subsequent setup becomes faster and more intuitive as you get used to the boot sequence. It’s also an excellent way to learn more about networking and how your Raspberry Pis communicate with each other. You’ll gain a deeper understanding of your system while improving its reliability. Why it’s worth the effort Setting up network booting requires patience, but the payoff makes it worthwhile. You save money on storage, improve consistency, and make recovery far less painful. Even for hobby projects, it’s satisfying to know that every Raspberry Pi you own can rebuild itself automatically from a central image. It turns a cluster of small devices into something that feels coordinated and professional. It also opens the door to more advanced setups. You can automate OS provisioning, roll out updates in bulk, or test new releases without risk. Once your devices are network-booted, they’re easier to monitor, maintain, and scale. It’s the kind of change that starts small but grows into something that reshapes your whole workflow. After living with network booting for a while, I can say it’s one of the most impactful upgrades I’ve made. It simplifies everything—from updates to backups—and keeps my systems running smoothly. For anyone managing multiple devices or running a home lab, this setup will save time and frustration. Once you’ve tried it, going back to SD cards feels like a step backward. A smarter and smoother Raspberry Pi experience Booting my Raspberry Pi over the network hasn’t made the hardware itself faster, but it has made the experience of using it much better. It simplified updates, improved reliability, and reduced the constant maintenance that used to come with SD cards. For anyone running multiple devices or looking to make their setup more efficient, it’s a change worth making. Once you see how easy it is to manage everything from a single place, you’ll wonder why you didn’t switch sooner.