Question: I’ve grown onions and garlic in my garden and I’d like to try shallots this year. Do you have any suggestions for growing them?
A: Shallots are an easy-to-grow cool-season vegetable. With a little attention to detail, you can grow and harvest enough shallots for your household and have plenty to share with friends.
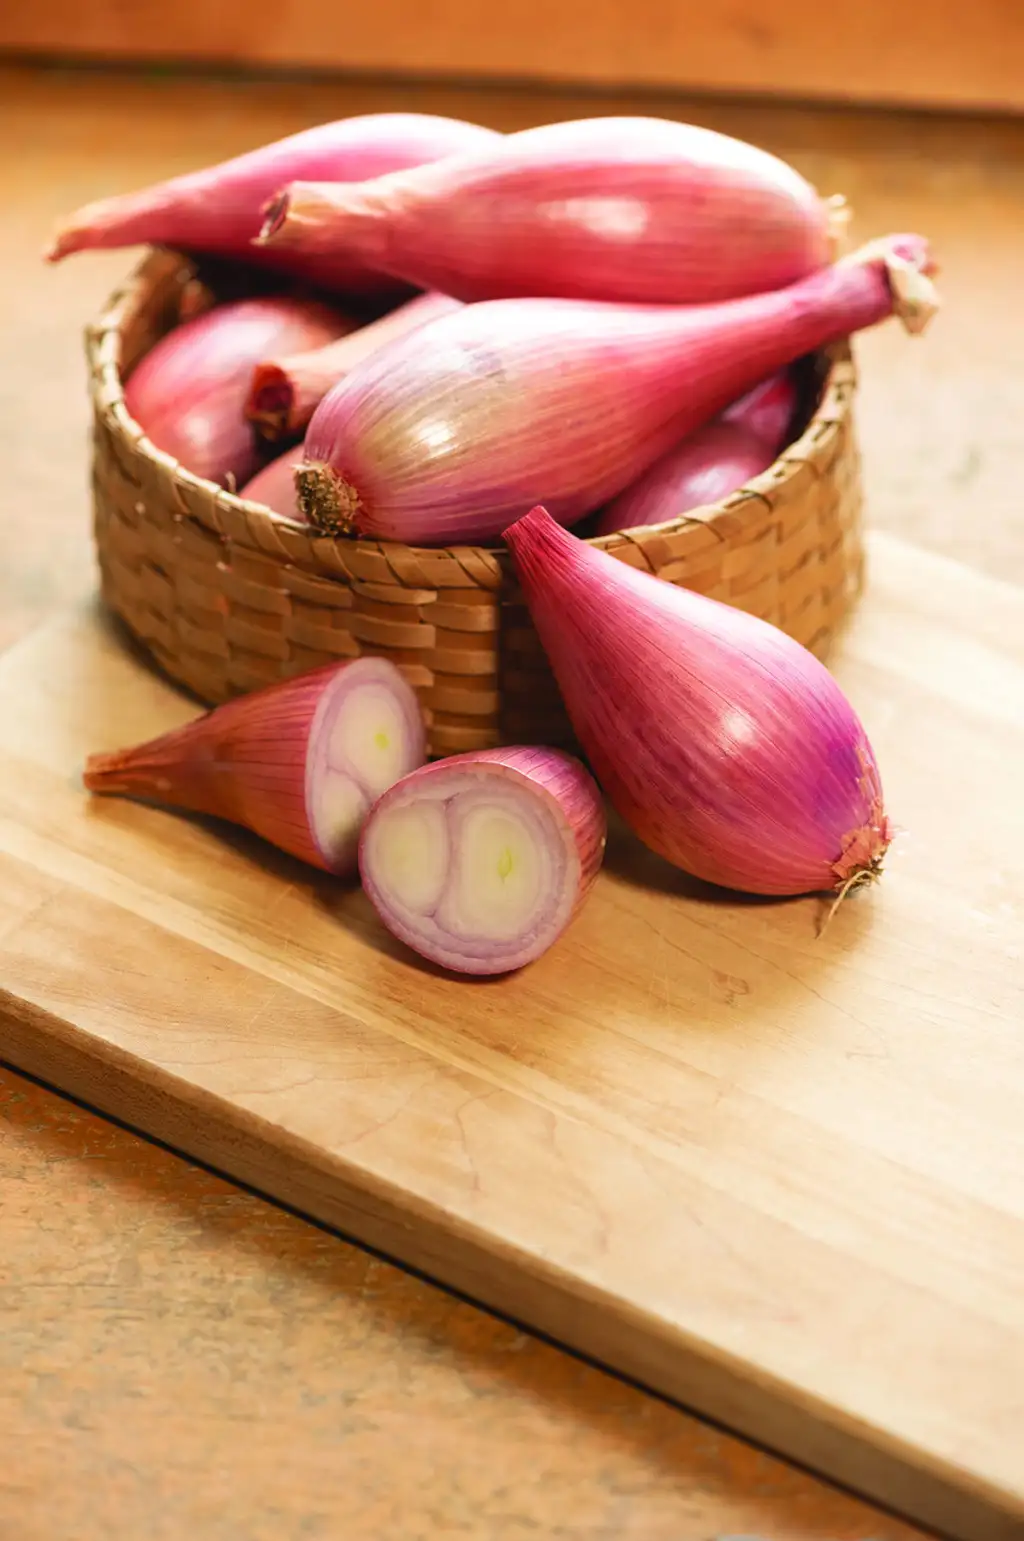
Start looking for shallot bulbs in late summer. Most gardeners plant small bulbs, or sets, because they’re easier, but you can plant seeds if you prefer. Choose bulbs that are firm, not soft. Common varieties include French Red, Gray Griselle and, for a shallot with a stronger onion-like flavor, Dutch Yellow.
Shallots can be grown in rows in the ground, raised beds or containers. Gophers love them, so unless you grow them in containers, provide good gopher protection.
Shallots are also heavy feeders. Plant them in soil that is rich in organic matter, well-drained and moist, but not soggy. Add compost or well-rotted manure to your soil to enhance fertility. Ideally the soil pH should be 5.5 to 7.5
Plant shallots in late fall or early spring in full sun. Fall-planted bulbs will yield a late spring or early summer harvest while those planted in spring mature in late July or early September. Position individual bulbs with the pointed tip up, 1 to 2 inches deep and 3 to 6 inches apart. The tops should be just below or barely above the soil line. Allow 12 to 18 inches between rows. Widely-spaced bulbs produce larger clusters of bulbs at harvest.
After planting, apply a balanced (10-10-10) organic fertilizer to the soil. Water thoroughly, but do not overwater. Add mulch to conserve water, control weeds and minimize winter damage. Monitor the soil to ensure that newly planted bulbs receive adequate water. The soil should be moist, but not waterlogged. Overly dry soil can decrease growth and yield, while overwatering can cause bulbs to rot. Use drip irrigation, if possible.
Fertilize with a nitrogen-rich organic fertilizer 30 days after planting and again after another 30 days. Since additional fertilizing promotes grow of vegetation instead of the bulb, no more nitrogen supplements are necessary. Weed control is very important during the first two months of growth. Monitor for weeds and promptly remove any unwanted vegetation. Protect new plants from snails and slugs. Once winter rains start, shallots can be left on their own.
Harvesting shallots is similar to harvesting onions. When most of the tops have dried up and fallen over, you can begin to harvest. Gently lift the shallots out with a gardening fork and separate clusters into individual bulbs. Let them cure in a well-ventilated area for 1 to 2 weeks until the bulbs and leaves are completely dry and the skin is papery. An old screen door or piece of mesh makes a good drying rack.
When the shallots are dry, cut the leaves back 2 inches above the bulb and trim the roots before storing. Keep the shallots in mesh bags in a cool, dry, dark environment with good air circulation. Stored shallot bulbs can be replanted in late fall or in spring.
For more information on shallots: https://tinyurl.com/4dp2nfvp