PC owners aren’t strangers to the usual hardware debacle. If you’ve been using a PC for more than a year, chances are you have probably encountered some common hardware hiccups. Whether it’s an overclocking or undervolting tweak gone wrong, a curious case of a forgotten BIOS password, or the dreaded black screen on startup, a simple CMOS reset could spell the end of your hardware woes.
So when it feels like your PC is testing your patience and throwing curveballs when you least expect it, this quick and easy fix can help you, should you find yourself in any of these “now what?” situations.
The black screen of death
One-sentence horror story
A few things in life come close to the utter frustration of seeing a black screen after powering up your computer. This may appear with no error messages or any other signs of life other than your power lights and fans whirring in the background, resulting in you staring at your confused reflection. So naturally, you put your troubleshooting hat on. At first glance, this seems like an impossible problem to solve, because you’ve got no hints to work with, no obvious problems to troubleshoot.
One of the notable causes of this problem is a BIOS (Basic Input/Output System) configuration issue. BIOS settings can become corrupted through failed updates, improper changes, or misconfigured hardware, preventing your system from displaying output to your monitor. Resetting the CMOS clears the BIOS settings, restoring your motherboard’s settings to their default factory configuration.
This can resolve the black screen issue by eliminating any faulty settings that may have been responsible for the PC failing to display output. Additionally, the process also reverts your boot order and hardware configurations, which can fix problems caused by BIOS corruption or conflicts with hardware components.
Reverting a bad overclock
When a boost becomes a speed bump
In the realm of PC gaming, overclocking is a meticulous science and a delicate art. When done right, you can achieve a delightful performance boost from your hardware, but overdoing it or getting the numbers wrong can result in a range of stability issues, crashes, and thermal shutdowns.
This can occur for several reasons. When attempting to push your CPU or GPU beyond their factory-set limits, they can generate heat faster than your rig can dissipate, or perhaps draw more power than your hardware was designed to supply. When combined with an increased voltage, your system can crash under heavy load, freeze randomly, or, in some cases, refuse to boot.
If your PC becomes unresponsive after an unsuccessful overclocking attempt, resetting the CMOS will undo any ill-advised or miscalculated tweaks to your clock speeds or voltage settings, and hopefully resolve any crashes and freezes that you may have encountered. Once your system regains stability, you can then attempt a more measured, beginner-friendly overclocking approach.
Reverting a bad undervolt
When silent becomes still
Undervolting has gained significant popularity recently, and you’re interested. Maybe as a way to lower your system’s power consumption and enjoy some low temps, or a way to reduce noise on your workbench. As with most things that involve tinkering with your PC components’ voltage, undervolting is not without its risks. A few wrong turns later, you’re greeted by the all-too-familiar black screen of death.
If this has happened to you, it is possible that your system did not receive enough voltage to stabilize properly. As opposed to overclocking, where instability can arise when the system is under load, a bad undervolt can prevent your system from even POST-ing. This may seem like a catastrophic failure at first, but you can always start over.
Fortunately, this time, the fix is simple. Depending on your motherboard, you may need to unseat your CMOS battery for 15–30 seconds or shift the CMOS jumper from the default pins to the clear position for 5–10 seconds. Doing this and holding down your BIOS key (which, depending on your motherboard manufacturer, will be either F2, Delete, F10, or Esc) will bring you right back into the BIOS settings on your next boot.
When done correctly, this should put you back in control. Your BIOS settings should be restored to factory defaults, allowing you to start your undervolting experiment afresh, hopefully with a more cautious and incremental approach this time.
Remember to switch off your PSU and unplug the power cable from the outlet before attempting to reset your CMOS.
When you forget your BIOS password
When security turns into a lockout
You set up a BIOS password years ago for added security, found the perfect settings for your rig, and never went into the settings again until now. Unfortunately, if you can’t remember your password, you’re locked out of your BIOS settings and can’t enjoy your new DDR5 RAM sticks you received in the mail today. You try every password you’ve ever used out of desperation, but nothing seems to work.
As you’ve probably guessed at this point, CMOS reset comes to the rescue again. Clearing the CMOS will reset your BIOS password. This is because the BIOS password is stored in a small, non-volatile memory on the motherboard, which is powered by the CMOS battery. This memory holds the configuration data, and resetting it clears any passwords set within the BIOS. This action will once again grant you access to the settings, allowing you to enable your XMP or EXPO profiles and enjoy the added FPS, as well as unleash your newfound, hardware-accelerated productivity.
When your system’s clock is (perpetually) off
If you’ve ever glanced at your PC’s date and time and found it to be a couple of years in the past, it’s not symptomatic of paranormal activity, but it may rather indicate that your CMOS battery is starting to fail or that your BIOS settings aren’t all in order. If you’ve fixed your system’s clocks a couple of times, and it keeps going haywire after each startup, a CMOS reset can fix this issue by clearing outdated settings, allowing your system to re-sync with the correct date and time on boot.
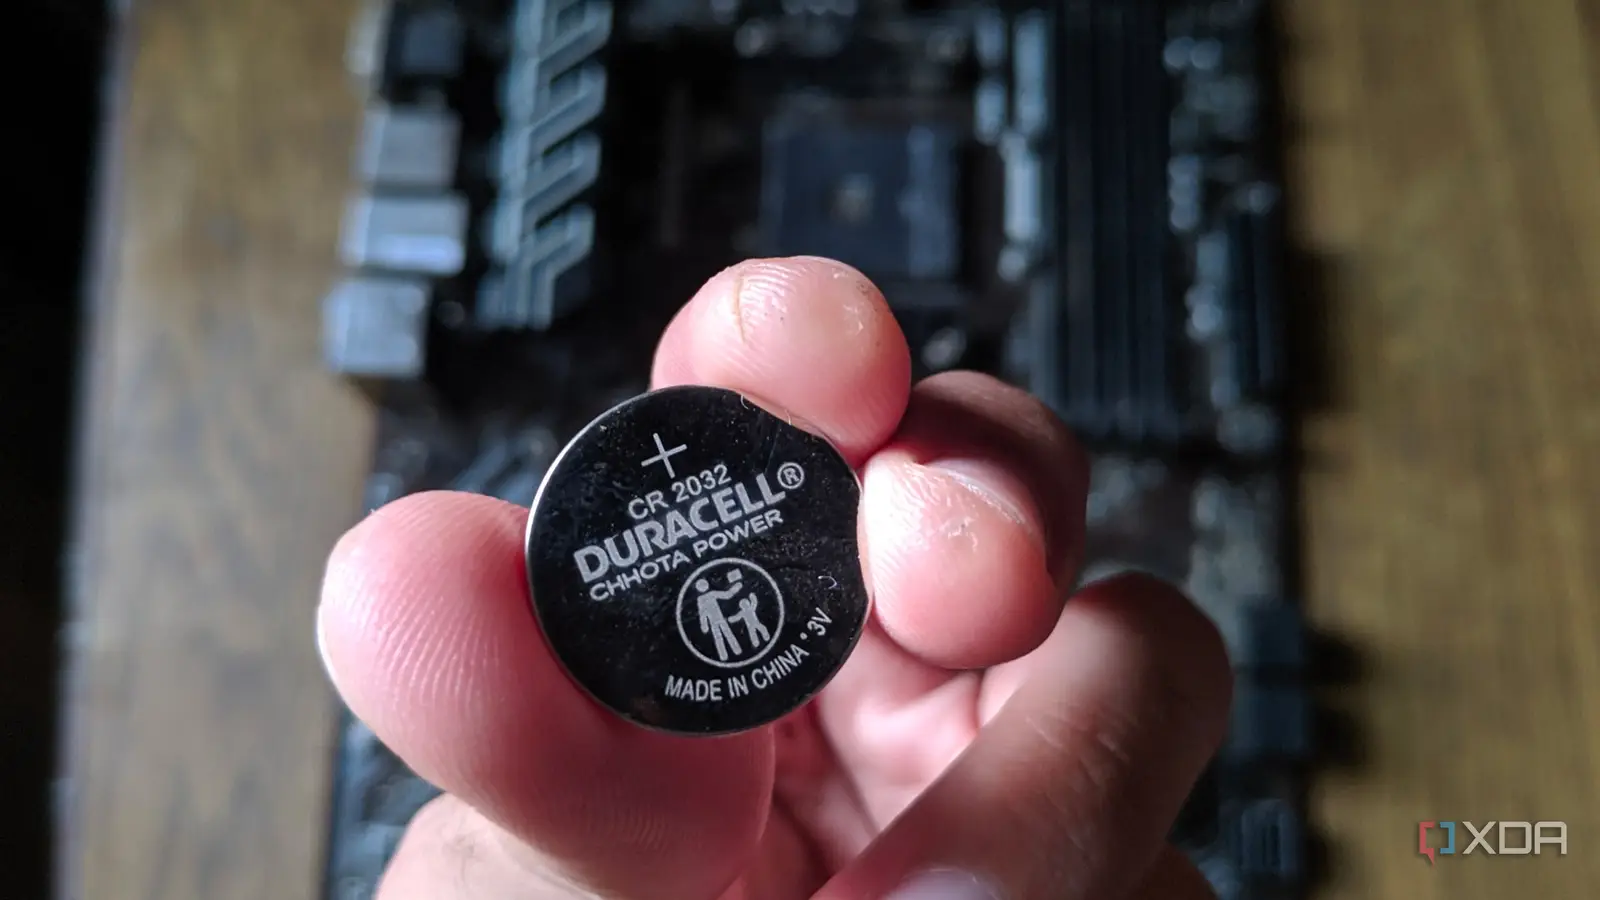
This usually happens because the CMOS battery provides power to the motherboard’s memory, preserving the BIOS settings and the system clock, which is responsible for timekeeping while your PC is turned off. When the battery has run dry, the motherboard can no longer keep track of the time, leading to the resetting of your system’s clock every time you shut down or restart your PC. If that seems to be the case, you can safely replace the CMOS battery on your motherboard.
Why you should consider a CMOS reset before seeking big fixes
While not a miracle cure for every hardware issue, knowing how to perform a CMOS reset is an invaluable tool in any PC enthusiast’s troubleshooting arsenal. It is quick, easy, often overlooked, and can certainly save you the hassle of calling your local technician, performing a full system wipe and OS reinstall, or worse, RMA-ing your components before you’ve covered all the bases.