I sat on the floor surrounded by backpacking gear like I was in the middle of a summoning circle, carefully setting a headlamp on a gram scale in front of me. 47 grams. Not bad. I kept weighing items one by one, trying to find any unnecessary weight to cut, before I hefted my heaviest single piece of gear onto the scale and winced. 915 grams.
It was my camera. The one piece of gear that I knew would get the most curious looks from other backpackers, but also the one piece of gear I held onto most preciously. I could hear the comments in my mind: “You’re carrying that the whole way?” and “Isn’t that a bit heavy for just some pictures?”
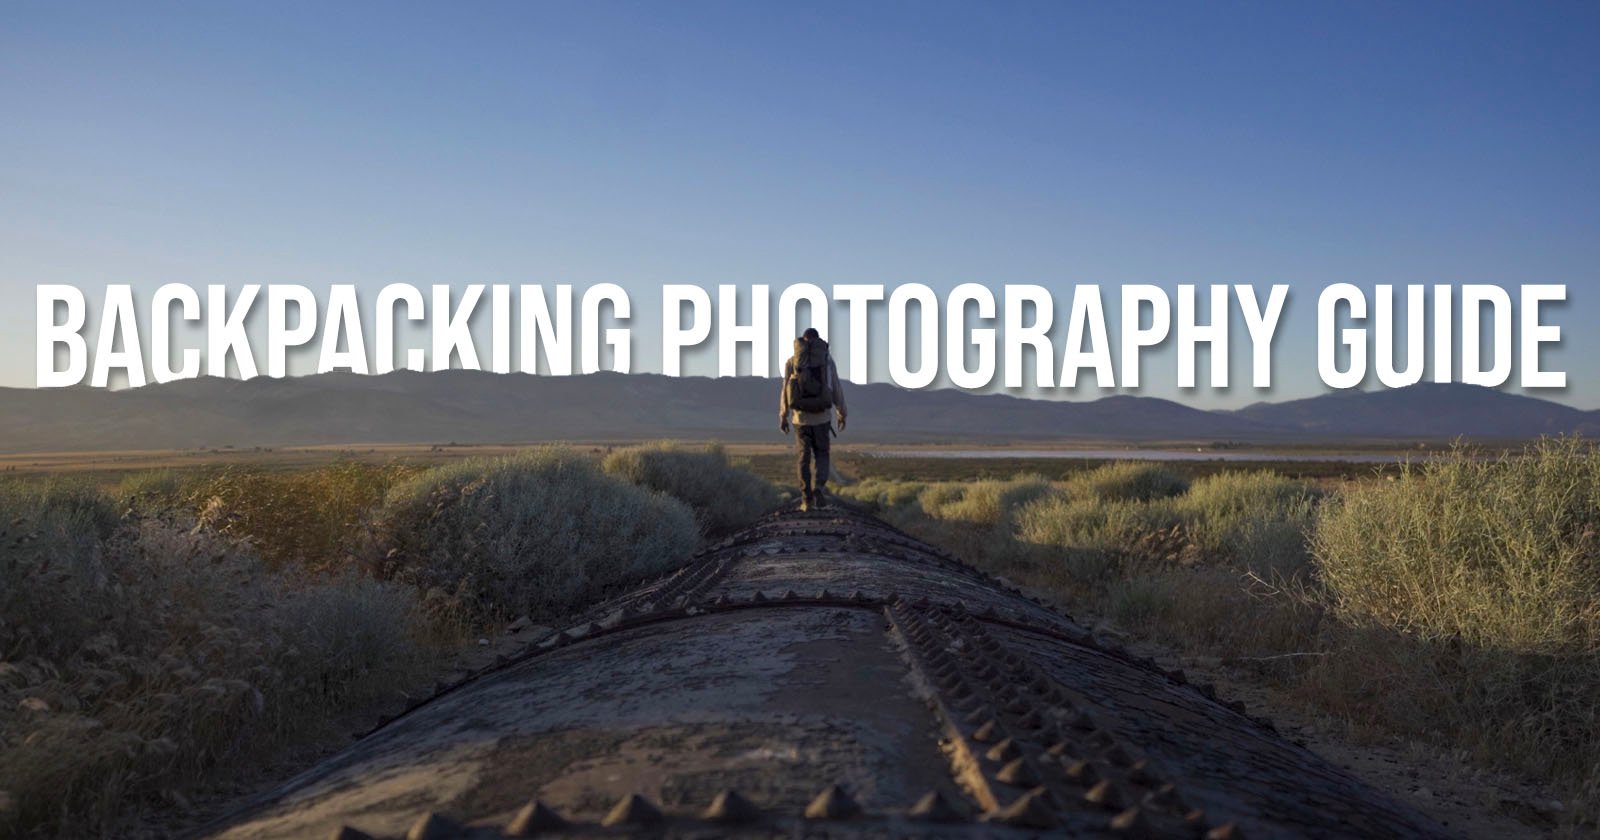
I wasn’t just out for a weekend adventure, I was attempting one of the “big three” of America’s long-distance backpacking routes: the Pacific Crest Trail. A 2,650-mile-long hiking path that starts at the Mexican border outside San Diego, it runs all the way up to the Canadian border in North Cascade National Park. Only about a third of the people who attempt it finish, and a light pack is one of the biggest correlations to completion, leading people to obsess over their pack weights. I was one of those people, desperately trying to balance my love of photography with my chances of finishing the trail.
If I were going to carry a camera for 2,650 miles, and up 500,000 feet of elevation gain — including the tallest mountain in the lower 48 — it needed to be as light as possible, with a versatile lens, and be reliable enough to withstand months exposed to the elements. Here’s how I chose my camera setup, and how to think about making a similar choice in the future if an adventure like this calls your way.
Understanding Your Subject
Like most areas of photography, gear choices come down to knowing what you want to photograph and then finding a piece of kit that covers those subjects. However, in backpacking, the choice margin is much tighter because every extra bit of weight contributes to the likelihood that you won’t finish the trail. The goal is to find a camera that can adequately capture the subjects you want, but not unnecessarily beyond that.
For most people backpacking, subject choice is simple. Landscapes, mountains, trees, and lakes. The natural splendor of nature is full of endless possibilities, and most cameras these days are well-suited for capturing this, regardless of sensor size or lens quality. However, the choices get much more limited if your goal is capturing portraits of people with a shallow depth of field, low-light pictures at dawn, or, most limiting of all: astrophotography. While smaller sensor cameras can get good night shots, there’s a massive advantage to larger sensors and faster lenses. The options below will focus on an average landscape shooter, so we’ll be ignoring specialized subjects for now.
Choosing a Sensor Size
Arguably, the most impactful choice for size, weight, and cost is picking a sensor format. If your choice of subject is classic landscapes, this is an area where a smaller sensor like Micro Four Thirds (M43) can really shine. Although Panasonic has shied away from small bodies over the last several years, OM System makes a compelling case with the OM-5 lineup for a small, rugged body that still has beautiful manual controls.
Moving up to APS-C, the options explode in number. Canon, Fujifilm, Sony, and Nikon all offer compelling weather-sealed options at reasonable weight and prices — especially if you’re looking at an older model. In the realm of full frame and above, this is where options narrow down again because, while there are a plethora of weather-sealed bodies, few prioritize weight and size. Sony has its excellent C series, which is the shining example here.
Additionally, options like the Leica Q series or Fujifilm GFX100RF offer fixed lens options, albeit at a much higher price.
Choosing a Lens
Lens selection will always be subjective, but for landscapes and general nature shots, I think that a wide-angle lens around 24mm is the most versatile. Some people will prefer wider, others narrower (I personally fell in love with 40mm in my earliest days of backpacking), but I would still pick 24mm if I were playing it safe.
Zoom lenses are where things get interesting. If you can find a lightweight, weather-sealed, all-in-one zoom like the Panasonic 14-140mm for M43, that’s an incredible option for versatility in good lighting conditions.
Most camera systems won’t have that option as all-in-one lenses are typically much heavier, and so a more standard zoom like the excellent Sigma 18-50mm f/2.8 is a good pick.
Balancing the Costs
Backpacking and photography are hobbies that can get expensive, and the more money you spend on one, the less you’ll have for the other. On the positive side, however, most photography-focused cameras released over the last eight years are still excellent. We’re well past the days of early digital sensors and firmly into mature technology when it comes to image quality. To save cost, an older used camera body can offer excellent value and is what we’ll be primarily focusing on in the comparison below.
The table below shows a selection of four options from camera manufacturers paired with a prime lens or a zoom lens. While there are many different options for lens combinations, I tried to stick to three guiding principles for prime lenses: keep it light, cheap, and fast.
For zooms, I picked a light superzoom, if one existed, or defaulted to a small standard zoom. Additionally, all bodies need two key features: in-camera USB charging and weather sealing. Not needing to lug around a separate battery charger saves both weight and complexity, and weather sealing is strongly advisable for a camera that needs to survive five months of constant outdoor use. Yes, there are some non-sealed cameras like the Ricoh GR III and GR IV that offer incredible image quality at a ridiculously low weight, but I’m not including them because I wouldn’t recommend a non-sealed camera for this type of situation. I’m a big advocate of buying used gear when possible, so I’m listing street pricing for everything. If you’re planning a hike like this, you probably have enough time to wait for a good deal to pop up.
The EM5 Mark III is a good intersection of price and performance. It’s older and therefore easy to find inexpensive, and is probably the most rugged option listed here. The Panasonic 9mm f/1.7 is wider than preferred, but there aren’t too many weather-sealed primes to choose from that aren’t enormously expensive. Thankfully, the versatile Panasonic 14-140mm f/3.5-5.6 is available, offering an unbeatable focal range to weight ratio.
Sony APS-C sees a jump in price with the cheapest weather-sealed option, the a6600. It pairs well with the pricey but excellent Sony 15mm f/1.4, and for a zoom option, the aforementioned Sigma 18-50mm f/2.8 is hard to beat.
Unfortunately, Fujifilm doesn’t make its smaller X-T00 cameras weather sealed, so we have to jump up to the X-T3 to get that. Fujiilm doesn’t have a light/cheap/fast prime in my opinion, so we sacrifice fast to get the 16mm f/2.8. You can also go with that Sigma 18-50mm f/2.8 as the zoom pick.
Nikon has the most affordable option listed with the first-gen Z50. Unfortunately, Nikon stumbles in the prime lens department, as there are not a ton of third-party choices, leaving the 24mm f/1.7 as the best option for a wide-angle prime. That said, the 36mm equivalent field of view isn’t exactly wide. Thankfully, the zoom option is strong, with the Nikon 18-140mm f/3.5-5.6.
Canon struggles to make a compelling showing due to a tough mix of limited lens options and higher prices. The R7 is the best weather-sealed option and is a remarkable camera, but used prices are high, and the best prime option with weather sealing is the large and expensive Sigma 16mm f/1.4. It’s a great lens, but it’s heavier than every other on this list, including the zooms. On the zoom side, Sigma once again saves the day with that same 18-50mm f/2.8.
Finally, we jump to full frame, and here the options aren’t as expansive as in the APS-C world because of the limiting factors of size and weight. Picking a cutoff is subjective, but for my own judgement, the only full-frame bodies that truly feel compact and light are the aptly named “C” series from Sony, and the original a7C is the best value of the bunch.
There’s also an excellent prime to go with it, the Tamron 24mm f/2.8, which is cheap, light, and has a useful 1:2 macro function. Sony’s own 28-60mm f4-5.6 doesn’t have the brightest aperture on paper, but is comparable in equivalence to the other options listed while coming in at a shockingly low weight and price.
If Price is No Object…
There are many other options aside from these four, and it’s worth noting that if cost were removed from the equation, a few other options open up. These are not practical for most backpackers, but if you’re looking for the best compact setup money can buy, I think these are it.
As unconventional as it is and despite all of its weaknesses, the Sigma fp-L deserves to be included here because it is the smallest and lightest full-frame camera, and that 61-megapixel sensor is truly excellent for still photos (literally still; like landscapes). It gets a place over the newer BF due to that sensor, but I also didn’t give the BF much serious consideration, given how unusual it is.
The Sony a7CR improves upon what made the a7C so compelling, with better features and a much higher sensor that opens up cropping potential quite a lot. It’s worth noting that not all lenses can take advantage of the resolution at work here, although both options listed will do so.
Leica Q3 shines with the fastest lens selected here, and will certainly be among the most desirable cameras anywhere on the trail. The GFX100RF offers an immense amount of detail to work with in a ridiculously small body for what it is. The Hasselblad 907x and CFV 100c, paired with a 28mm f/4 lens, give the GFX some competition in the medium format world at a very respectable weight.
My Recommendations
The Olympus EM-5 Mark III (which is now known as the OM-5, with the newest example being the OM-5 Mark II) with the 14-140mm lens wins for a durable budget choice for a photographer of beginner or average skill level and expectations. It’s hard to beat the performance and weight of this setup as a camera that can deliver good results mile after mile without worrying about it failing due to the elements. It also supports decent video features if those become an interest, but video-specific cameras are a focus for another story.
But for more advanced photographers, I think there is a slightly better option.
The real surprise is how close full-frame options came to beating out the other options, and that’s due to the unique place the Sony a7C resides in. It’s not big, or heavy, or even comparatively expensive, coming in cheaper than Canon’s offering, and lighter than Canon or Fujifilm alternatives, while being only six grams heavier than Sony’s APS-C a6600. The proliferation of third-party E-mount lens options also means the optics are actually the cheapest of the bunch, and somehow among the lightest as well. That means that the lightest zoom option ended up being full frame, while costing about the same as others, making it my overall recommendation for an upgrade pick if you’re a more advanced shooter.
The First Steps
It was cold and misty at the Mexican border as I handed my a7C to my friend Sean for a picture of me next to the PCT Southern Terminus Monument. It was May 5 and I shivered in my rain jacket as I climbed up on the monument to pose for a picture I hoped I could one day juxtapose with another photo at the Northern Terminus Monument.
He took ten pictures of me that morning, but I would end up taking nearly 9,000 over the course of my 131-day adventure. Which — compared to my wedding gigs — honestly didn’t feel like a lot. But I didn’t take them on a 28-60mm f/4-5.6 lens, despite my recommendations above.
My own lens choice was something a bit different, suited more to my photographic style, but more importantly, my video needs. Yup, surprise rug pull at the end of a photography article, I’m a hybrid shooter! Which made my adventure twice as complicated, and the demands of my camera choice even more brutal. We’ll be covering all that in Part 2, where I break down options for video shooters on long-distance trails.
Author’s note: The options listed above were only a subset of the vast array of cameras that would thrive while backpacking. The decision to limit discussion to weather-sealed options is sure to be divisive. I personally shot a non-sealed camera outdoors for years without issue, so I have a lot of opinions as well, but they’re all out of the scope of this article. Additionally, while I like to think I keep the entire B&H catalog in my head, I’m sure to have missed an option, so leave your recommendations and reasons in the comments below. Especially if you’re a backpacker yourself, share your story of what gear works for your photographic style.
