When building a PC, all our thoughts about power revolve around getting a PSU that can handle the transient spikes in the total power draw of all the components combined. We also presume the PC won’t be running at full tilt all the time, so there’s no realistic way to estimate the actual increase in your utilities bill until you plug the PC in and use it for a couple of months. Things might be different with a laptop that typically draws a consistent amount of rated power. The truth is, your PC could be guzzling watts unnecessarily, even when it’s just sitting there showing you your desktop wallpaper. Every component, from the CPU to the case fans, is a potential point of inefficiency.
This waste isn’t just about a higher power bill. Inefficient operation wastes power that is expended as wasted heat. A poorly optimized system with mismatched hardware — like a fire-breathing CPU paired with a stock cooler in a case with bad airflow runs hot, and a lot of that heat is just wasted power. Even if you have a fully built system with zero budget left to fix poor hardware choices, there are a few things you can do to reduce absurd power bills. It’s a combination of smart software tweaks, adjusting a few habits, and making more conscious hardware upgrades in the future.
Reduce or kill startup programs
Weeding out hidden culprits
The first and easiest place to slash power waste is right at the source. When you install software, some of them, like Steam, presume you will need them every single time you boot up your PC, but that may not be the case. These programs include one little checkbox during installation to add them to start-up, and you might leave that box checked and speed things along. However, game launchers, chat apps, software updaters, and other bloatware all start spinning up processes, consuming CPU cycles and memory before you’ve even opened a single window on an idle PC.
Together, they can raise your baseline power draw significantly, just by giving the CPU something to do which may not even be necessary in every boot. You can easily see this rogue’s gallery by opening the Task Manager (Ctrl + Shift + Esc) and heading to the Startup tab. Windows helpfully throws in a rating for the severity of impact on the boot time, but it is safe to assume that applies to the power draw as well. Be ruthless. Disable everything you don’t need running at every boot.
Scorching this list clean can be inconvenient if you’re not careful, preventing your cloud storage client from syncing or your antivirus from opening, for instance. Otherwise, you really don’t need five different game launchers and Spotify running in the background all day if you only play games for an hour in the evening. Manually launching a program when you need it takes two additional seconds.
Cull background processes
Another silent killer
Much like startup items, background processes are silent power vampires. These are the services and applications that continue to run long after your PC has booted, often without any visible window. While many are essential Windows services, a surprising number are remnants of software you installed ages ago. None of them helps your power bill. An app that constantly checks for updates or a printer utility that’s always running even when the printer is off are classic examples.
Again, the Task Manager is your best friend. In the Processes tab, you can sort by CPU, memory, and even power usage to identify what’s hogging resources. If you see a third-party application consistently using CPU cycles for no apparent reason, it’s a prime candidate for culling. However, trimming this list is more dangerous than the startup apps.
Killing an important system process can cause instability or even a system crash. If you’re unsure of the service’s purpose even after some research, I recommend erring on the side of caution. By focusing on non-Microsoft processes, you can significantly reduce the risk of breaking something important while still trimming your PC’s idle power consumption.
Adjust your power settings
Windows’ built-in savior, especially for laptops
Windows Power Plans tucked away in the Control Panel are a great way to let the OS-level optimizations kick in and decide what’s best for your usage. Most PCs are on the Dynamic plan by default, but you may find custom Windows installs from laptop OEMs using the Power Saver plan to help battery life. From a power consumption standpoint, the High Performance power plan is the one to avoid, since it just prevents your CPU from downclocking when idle, burning extra watts for virtually no benefit in day-to-day tasks.
You can switch from Balanced to Power Saver, or tweak the Balanced plan as needed. Both plans aggressively lower your CPU’s maximum clock speed when you’re not doing anything intensive, which drastically cuts down on power draw and heat generation. The Power Saver plan may sacrifice performance to meet its promises, but the Balanced one intelligently ramps up performance when an application demands it and powers down when it doesn’t.
Be aggressive with sleep and display power timers
More power plan customization
This one seems obvious, but you’d be surprised how many people leave their monitors on all day, displaying nothing but their desktop. Modern monitors, especially large 4K or high-refresh-rate gaming displays, can be one of the most power-hungry components in your setup. This is a big hole in the bucket of leaky power in workspaces, and small business owners concerned about their utility bills can fix it easily. It is far more pertinent for laptop users, where running out of charge can leave unfinished business.
Go into your power plan settings and set your display to turn off after just a few minutes of inactivity — say, five or 10 minutes. It can be annoying to have your screen go dark or your PC go to sleep when you’ve just stepped away to think for a minute, but just jiggling your mouse should wake it back up. It’s a short delay and may break your train of thought, but the little savings in 15-minute coffee breaks add up quickly.
You can go a step further and set an aggressive sleep timeout as well, so your PC’s processing and storage units also take a break when you do. However, I suggest setting this timer a little longer than the display timeout so you don’t repeatedly wake the PC from a sleep state. It usually takes a bit longer. That said, switching off the monitor is a great power-saver on machines running a home lab setup, NAS, or simple download manager.
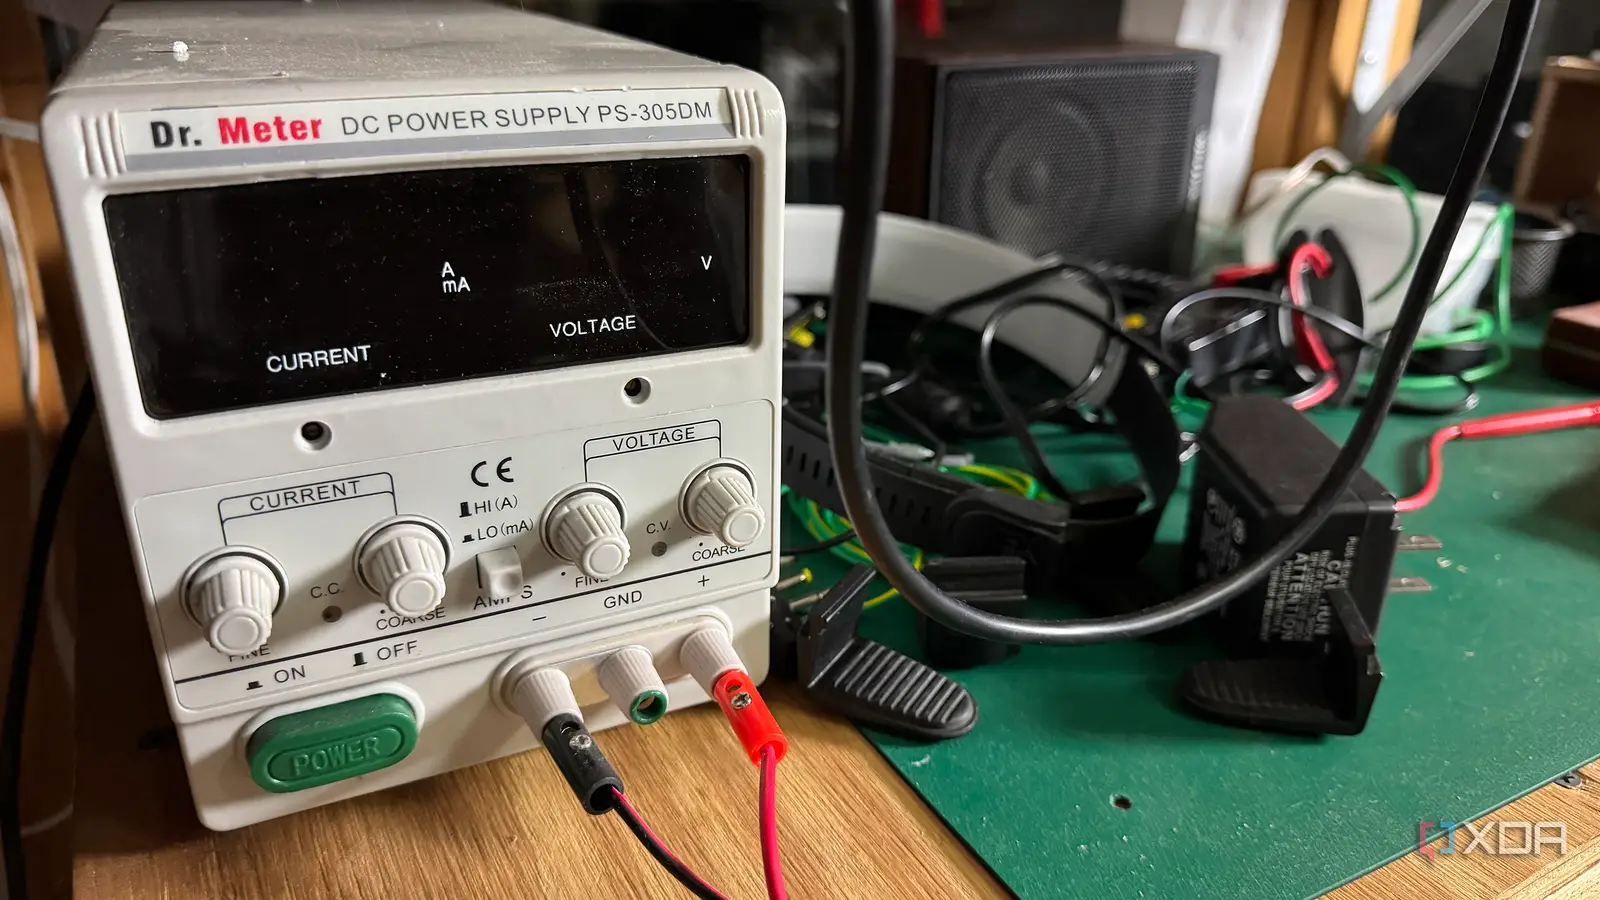
Get a more efficient PSU
Ratings aren’t just a sticker
Switching gears to discuss hardware upgrades or considerations for a new build, we can talk about the PSU. It mainly converts AC power from your wall outlet into the DC power your components need. However, this conversion isn’t perfect, and a conversion loss appears as heat. Your PC then spends additional resources to dispel that heat by ramping up fans. Sure, the power spike for additional cooling is limited, but you can easily sidestep this issue.
The PSU’s efficiency rating, of 80 Plus Bronze, Silver, Gold, or Platinum, is a direct indicator of its efficiency in converting AC to DC. For example, an 80% efficient PSU wastes 20% of the power depending on load, as efficiency can vary based on load conditions. A 92% efficient (Platinum) PSU only wastes 8%. Upgrading from a cheap, unrated, or Bronze PSU to a Gold or Platinum model means less energy is wasted before it even reaches your components. This effect is most noticeable when the PC is idle or under a light load, where many less efficient PSUs perform very poorly.
An associated benefit of this efficiency is that a highly rated power supply also runs cooler, helping the overall lifespan of the components while the internal fans spin more slowly and quietly. Think of it as an investment in quality and quiet operation, with the energy savings as a nice bonus, if you like.
Use the correct hardware
Make calculated component choices
PC builders often get sucked into the tendency to buy bigger and better components for their builds. It’s tempting to buy the top-of-the-line Core i9 or GeForce RTX 5090 if your budget allows. The problem is that this top-tier hardware has a high power draw even when it’s not being pushed to its limits. Using an overpowered GPU for browsing the web is like commuting to work in a supercar. It just wastes fuel.
If you already have high-end components, undervolting the GPU and CPU by just one or two percent can drop power draw to a reasonable level while still offering substantial performance when demanded. However, undervolting isn’t a walk in the park. It takes plenty of trial and error, and going too far can destabilize your system.
Right off the bat, stay true to your computing needs. If you primarily play esports titles and browse the web, a mid-range CPU and GPU will serve you perfectly well and save you a bundle on both the purchase price and your power bill. For undervolting, you don’t have to push the limits. Even a small, conservative undervolt is often perfectly stable and can reduce your component’s power draw by 10 to 20%, leading to a cooler, quieter, and more efficient machine. It’s the best free performance-per-watt upgrade there is. As stated before, you should consider the risk-to-reward ratio carefully, though.
Use another machine for light tasks
Integrated graphics work fine for checking your email
If you’re a power user, chances are you have more than one computer sitting around. It may be any combination of a desktop, laptop, mini PC, or AIO. Your mid-tower’s gaming-focused GPU is likely a massive power hog, often idling at 20 to 50 watts, doing nothing. To reduce the damage to your pocket, you can switch to integrated graphics for light tasks and only pull out the big guns for demanding workloads like content creation or gaming.
A solution for some NVIDIA cards involves connecting the display cable to the motherboard’s I/O instead of the GPU ports, then accessing the BIOS and enabling automatic display output selection. Next, enabling Hardware-accelerated GPU scheduling in Windows settings should get you gaming on the GPU, with the cable still plugged into the motherboard I/O. You can also try setting the default graphics output for each program in Windows settings.
An even more effective approach to power saving involves using a separate, low-power device for non-demanding tasks. A modern ultrabook or laptop can perform all your basic daily tasks while using a tiny fraction of the power of a high-end desktop. You can still use your tower PC’s peripherals and display using a single cable docking system that runs to a KVM switch that handles which computer uses the peripherals.
Sure, not everyone has a laptop or a CPU with integrated graphics just sitting around, but if you work from home and your PC is on for eight to ten hours a day, the savings on your electricity bill can be substantial, just by using the right tool for the job.
Smart savings add up
Ultimately, reducing your PC’s power consumption is about being more mindful of how it works. No single trick will slash your electricity bill in half, but a combination of these software, hardware, and habit changes can save you big bucks in the long term. Interestingly, the same principles apply whether you’re on a top-tier desktop or just trying to squeeze more battery life out of your laptop. Additionally, components that run more efficiently should operate at a lower temperature and, therefore, serve you longer.