As someone who grew up drooling over server PCs, I got quite a whiplash after realizing that you don’t need enterprise-grade hardware for computing projects. Sure, bulky systems with tons of RAM and CPU cores can handle virtualization-heavy workloads. But if you’ve got old systems lying around, you can repurpose them into reliable self-hosting and experimentation rigs.
That’s something I recently learned after deciding to install Proxmox on a dinosaur laptop – one that’s over ten years old at this point. And having used it for the last couple of months as a part of my lightweight PVE cluster, I must admit that old laptops have their own niche utility as Proxmox workstations.
Compared to bulky servers
When it comes to enterprise-grade rigs, you’ll want to relegate an entire room to the server. If you’ve got a workstation-centric system like I do, you’ll probably have to grab an E-ATX cabinet, as server-grade motherboards have rather unusual dimensions. Then there’s the fact that massive server rigs convert ridiculous amounts of energy into heat, which is not only bad for your electricity bills, but they also turn your room into a furnace.
Meanwhile, laptops have a smaller footprint than their server counterparts – even if the laptop in question is an ancient model with somewhat thick ergonomics. Whereas servers typically occupy a lot of desk space – or even dedicated racks – laptops can be tucked away at a random corner, and that’s precisely how I’ve placed my portable PVE-powered machine. Likewise, laptops tend to have a fraction of the power consumption of a typical PC, and the same holds true for their heat generation.
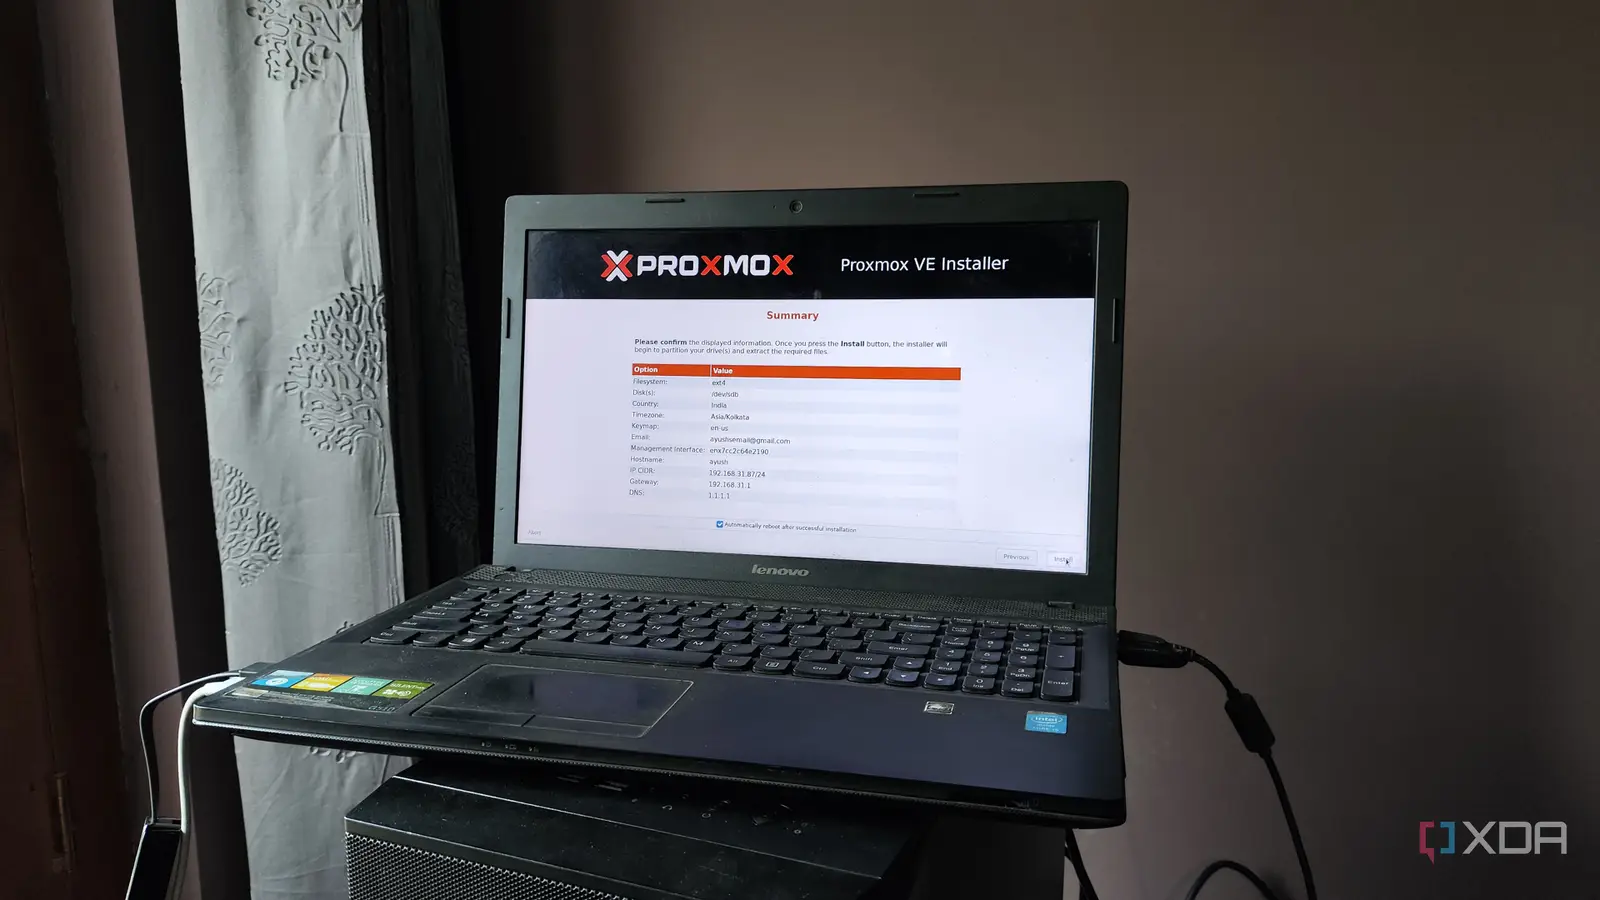
Proxmox runs well on old machines
Its minimum requirements are extraordinarily low
Before I got into Proxmox, I expected virtualization platforms and server-oriented distributions to require cutting-edge specifications. After all, I’d seen hardcore ESXi-based home servers in action, and one look at Harvester’s minimum specs list is enough to put many nodes in my arsenal to shame. However, system requirements and hardware compatibility are two of many aspects where Proxmox pulls ahead of the competition.
Proxmox requires an x86 processor compatible with virtualization technology, and 1GB of RAM as the minimum requirements. You’ll find those specifications on practically any (non-ARM, of course) laptop released in the last decade. Unless you’re planning to incorporate memory-intensive ZFS pools into your setup, you’ll have a decent experience with as little as 2GB RAM. CLI-based virtual machines run fine on old laptops, and that’s before you discuss LXCs…
Perfect for hosting LXCs
There’s a lot you can do with containers
While it may sound like an exaggeration, containers require a fraction of the processing power of their VM counterparts. As such, if your old laptop buckles under the load of a GUI-laden virtual machine, you can turn your faithful companion into a robust LXC-hosting workstation instead.
In fact, that’s precisely how I run my decade-old Lenovo G510 Proxmox node. And not just a couple of containers, mind you. If you include all the LXCs as well as Cosmos and Runtipi containers, I’ve got over a dozen services deployed inside containerized environments. The best part? Despite running most of these applications 24/7, my ancient laptop doesn’t experience more than 50% utilization of the memory and CPU resources.
Easier troubleshooting
Thanks to the built-in screen and keyboard
After I started using Linux in the late 2010s, I thought the complaints about the experimental nature of home labs were overblown. However, one year with a Proxmox server was enough to convince me otherwise, as there’s an absolutely wild number of ways I’ve broken my PVE node. This makes troubleshooting the crux of any home lab setup. But unless you have a dedicated KVM switch (a Keyboard Video Mouse module, not the hypervisor), troubleshooting can get rather cumbersome when you need to plug in a display and keyboard into the host machine.
But since laptops have both input devices and a screen built into them, there’s no need to manage cables for all your peripherals. When you start working with networking-related PVE projects, where a single misconfigured file can spell the end for your Internet connection, a laptop-based setup will come in handy.
The built-in battery has its perks and quirks, though
By now, you may have realized that I haven’t even mentioned the battery inside your laptop. That’s because it’s a double-edged sword at best, and a potential firestarter at worst. While the built-in battery can serve as a makeshift UPS, keeping it plugged in all the time can cause the battery to swell, leading to disastrous consequences for your home lab.
Initially, I used to unmount the battery and toss it in a trunk somewhere – and that’s still my recommended method for dealing with laptop batteries if you value safety above all else. Unfortunately, some laptops don’t let you remove the battery or disable it inside the BIOS menu. If that’s the case, you can use a smart plug with an overcharge protection mechanism to prevent your laptop’s battery from turning into a potential fire hazard.