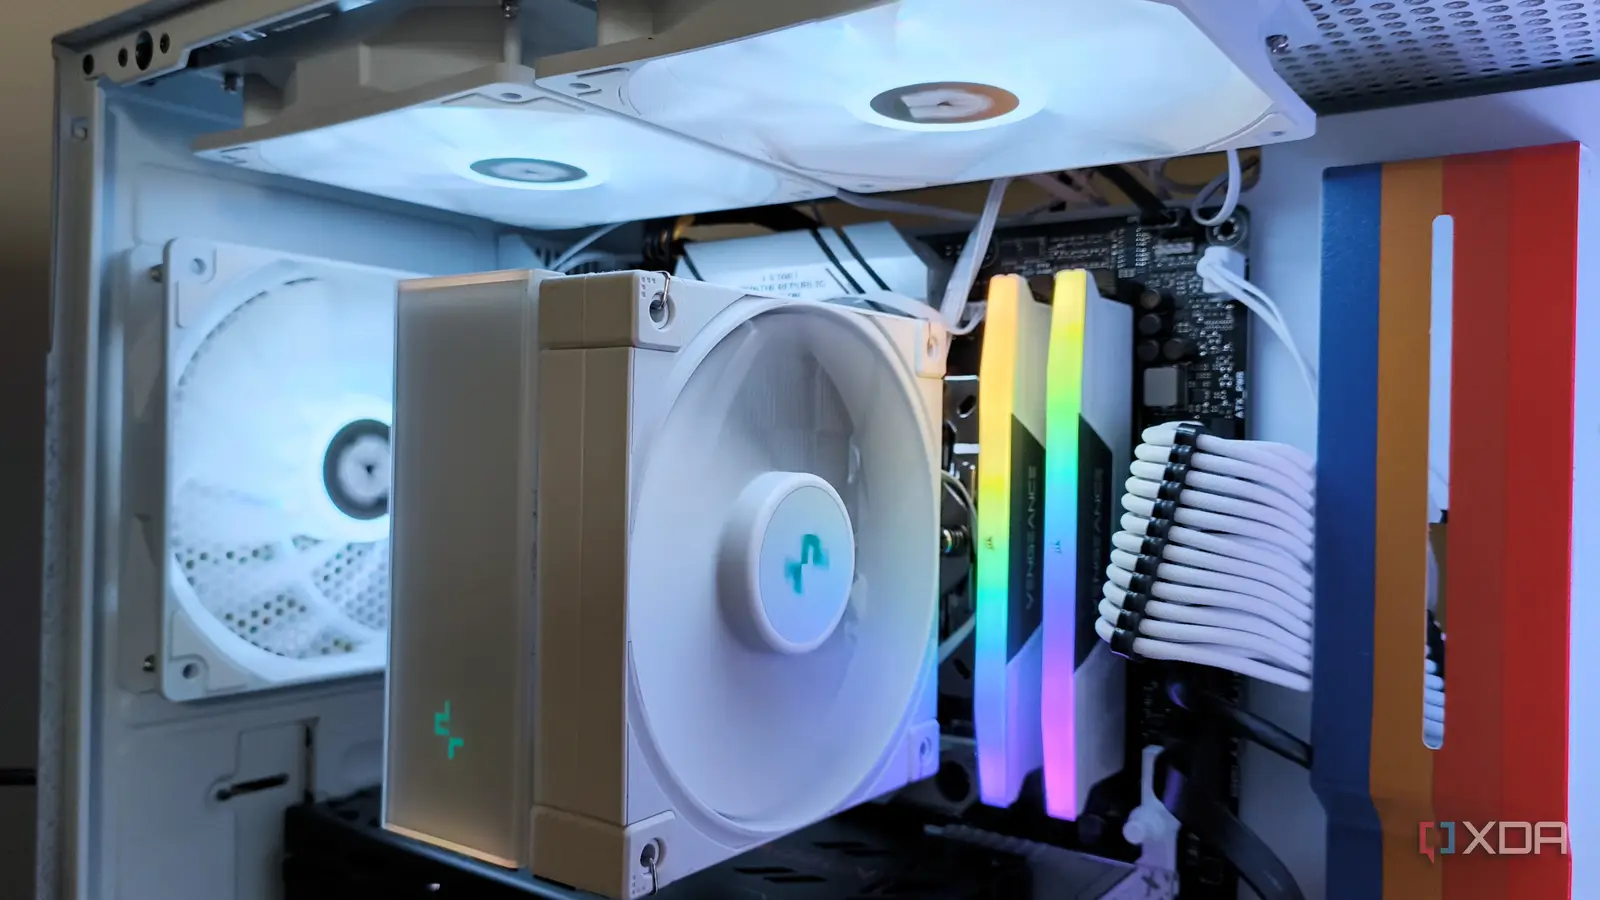
Case airflow is one of the most overlooked parts of a PC build, and depending on which parts you have in your rig, it can make a pretty huge difference. While modern cases come with fans installed in their intended direction, over the course of your build you will inevitably have to consider case airflow, and these four mistakes are some of the most common when it comes to fan configuration.
Incorrect orientation
A common mistake
One of the most drastic ways one can mess up their PC’s fan configuration is mistaking the direction your fans are blowing in. Most fans will have an indicator as to which way they’re blowing, but if they don’t, the easiest way to tell is just by feel. If no assembly errors have occurred, all PC cases will have their fans mounted the right way out of the box, but your CPU cooler is a different story.
If you have an air cooler, and you’ve mounted it yourself, it can be easy to mess up fan direction if you’re not paying close attention. Unless you’re in a specialized chassis, air should move towards the rear of the case, where the exhaust fan is located, so all fans should point the same direction, blowing intake air over all parts of the finstack. If fans are mounted in opposite directions, it’s very possible only one side of the finstack is getting airflow, which can have a really drastic effect on CPU temperatures.
The same principle holds true for water cooling in the case of the radiator. Fans configured in a push-pull manner should be pointed in the same direction on both sides of the radiator, otherwise the air can’t travel through the fins properly, and cooling efficiency is compromised.
Ignoring case pressure
There is a correct way*
While considering what direction your fans should be pointed in, there’s another element to keep in mind: case pressure. This refers to the overall balance of intake fans to exhaust fans. A positive pressure system means that there is more air being brought into the chassis than is leaving it with exhaust. Negative pressure means more air is being exhausted than is being brought in via intake. It’s also possible to have a neutral pressure case, meaning there is an equal amount of air being exhausted as is being blown in.
There are certainly pros and cons to each approach, but in the vast majority of scenarios, your chassis won’t be special; slightly positive case pressure is what you want to go for. In a positive pressure system, components constantly have access to cool air being brought in via a few intake fans, and heat can be exhausted via a single exhaust fan. When a case is configured this way (as long as dust filters are being utilized at intake), you’ll have less overall dust settling on the components inside. A negative pressure system does the opposite: air is being sucked in passively, which means more heat can be exhausted quicker, but results in more rapid dust accumulation. There are situations where this is the optimal approach, but for most users, slightly positive is the path to take.
Sometimes a case does have a specific layout of fans in mind that might result in a more extreme pressure setup, such as the Fractal Torrent. The full-size Torrent has 5 fans, all directed as intake, because the case was designed to be used in that fashion. If your case isn’t a conventional shape, consult the manual for guidance on how to set up the fans.
Number of case fans
Too many can be just a poor as too few
When it comes to fans, less really is more. Unless it’s too few, then less isn’t more at all. In a standard ATX case, so long as access to air isn’t being overly restricted, you can get away with just a couple of fans quite easily. Any less than 2 isn’t really sufficient if you plan on putting your system under heavy load, or if the parts inside tend to run on the warmer side.
Adding fans to every slot available on the case won’t make your thermals any better, though. At some point, you start to see diminishing returns on airflow, and it pays to prioritize a clear path for the air to take, rather than attempting to brute force it.
Not setting fan curves
One of the most important parts of cooling
Once you install your fans in the numbers and direction you wish, you still have one final step to consider. Fans don’t just run at one static speed, unless you want them to. PWM case fans are controlled by the headers they’re plugged into on the motherboard, which has preloaded hysteresis curves based on the temperature of your CPU.
At stock, these curves can be enough to cool your system appropriately, but will often ramp up harshly at the slightest rise in temperature, making for a poor acoustic experience. This is easily remedied by tweaking the curves in your BIOS, which can be done in just a few minutes. Lowering the base speed at idle, and making the ramp up more gradual can have a drastic effect not only on noise levels, but temperature as well. I have my CPU cooler fans plugged directly into the motherboard, while my chassis fans are all controlled via one header, ramping them up and down at the same time. Adjusting curves should be done for your GPU as well, and can be accomplished through software like MSI Afterburner.
Fans are an integral part of your system


