Besides containers, virtual machines lie at the center of every home lab. But unlike their containerized counterparts, VMs offer superior isolation and virtualization provisions, making them better for demanding projects. In fact, I tend to use virtual machines for many apps that can technically be deployed on containers or bare-metal setups, including Nextcloud, Home Assistant, and Docker setups.
A dev VM equipped with all my coding and debugging tools also fits under this category. Sure, many of the coding-centric utilities are light enough to run on your average daily driver, but hosting them inside a dedicated virtual machine can make your programming tasks a lot easier. As someone who has two VMs – one running Windows, and the other armed with Arch Linux – geared entirely for dev workloads, here’s why I also recommend going down the VM route if you’re even remotely into coding.
Zero package clutter on your daily driver
And no package conflicts, either
When you’re working on multiple projects, it’s easy to end up with a disorganized collection of config documents, binaries, and executable files. If you’re not careful with the packages, you’re just as likely to end up with multiple versions of the same app, which is not only chaotic to manage but can also result in dependency hell.
Relegating all your development tasks to a virtualized environment can help contain that file clutter – or at the very least, restrict it to the VM. Since you won’t install anything on the host rig, you don’t have to spend hours organizing your packages and project files. Heck, if your home server has enough horsepower, you can even set up more than one virtual machine to isolate projects with different versions of your preferred programming packages (I’m looking at you, Python and npm) to avoid dependency hell. While we’re on this subject…
Easier to recover from failed projects
Perfect for wacky coding experiments
If you find your VM filled to the brim with conflicting packages, there are simpler ways to recover from dependency hell than spending hours uninstalling the buggy packages. VM snapshots are fairly easy to create, regardless of whether you’re hosting it on your daily driver via a Type-2 hypervisor or using a virtualization platform. Since reverting to them only takes a couple of minutes, you’ll be back in a stable, less-cluttered version of your dev environment in no time.
Besides dependency hell, mixing up your PATH directories is another problem that can plague your coding and development workloads – and yes, I speak from experience. But since everything remains in a virtualized environment rather than your daily driver, you don’t have to worry about accidentally messing up the system variables or even the underlying filesystem while working on your projects.
Run a different OS without dual-boot shenanigans
No need to restrict yourself to a single OS
During my freshman year of college, I had to set up Windows 11 and Debian on the same machine to keep up with all the coding projects. And no, as much as I wished I could ditch Windows and switch to Linux entirely, I had to remain on the OS due to Adobe’s premium software suite. Unfortunately, dual-boot was a bit of a pain to configure, and I had a few incidents where Windows updates completely broke this facility.
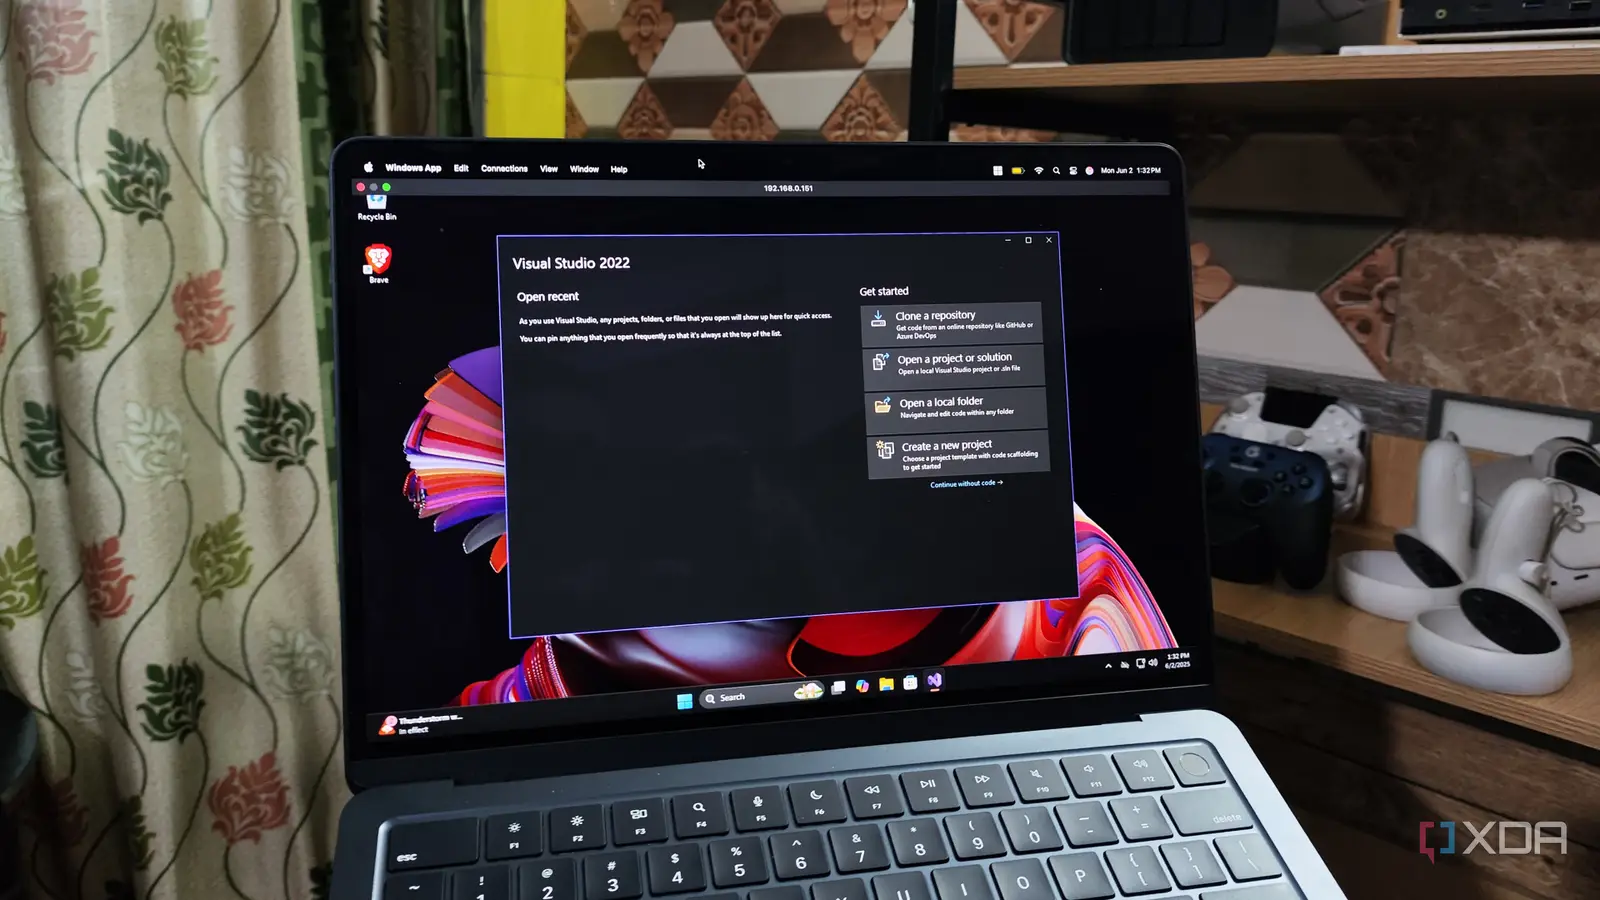
Had I switched my tasks to a dedicated Linux virtual machine (or even a GPU-powered Windows VM, for that matter), I wouldn’t have to deal with dual boot shenanigans. For folks with a semi-decent system, you don’t even have to restrict yourself to a single version of Linux. As of writing, I keep separate development-oriented virtual machines for Windows and Linux, so I can experiment with coding-related tools on both operating systems – straight from my MacBook, no less.
With the right settings, it can feel like a bare-bones setup
Especially if you’re using a Type-1 hypervisor
When I first sank my teeth into the virtualization rabbit hole, I quickly found out that offloading my everyday development and coding tasks inside VMs wasn’t very feasible due to performance restrictions. However, most hypervisors and virtualization platforms offer loads of settings to help you make the most of your dev VMs. And I don’t mean just the resource allocation sliders, either.
There’s the Extension Pack and Guest Additions on VirtualBox, alongside hardware acceleration and network settings. However, the real fun begins once you switch to virtualization platforms, as you get even more options to spruce up your VM and make it feel like a bare-metal setup. Different CPU types, governor profiles, display adapters, disk caches, and console options can provide vastly different performance. My setup involves going with RDP for my Windows dev VM while setting the host as CPU and configuring VirtIO drivers. That’s before you jump into GPU passthrough, and while it may require a little more technical finesse, this setting is useful for running After Effects on a Windows 11 VM to dedicated LLM-training workloads on a Linux environment.
You might want to avoid testing sketchy packages on your dev VM
Considering the isolated nature of virtual machines, you might be tempted to use them as a testing ground for seemingly malware-riddled files – or even as honeypots to analyze suspicious traffic. While VMs – especially those armed with quirky and lesser-used operating systems – offer better security than running everything on a bare-metal Windows 11 setup, I can’t recommend using them as package-testing labs. That’s because there are certain malware capable of escaping the confines of your virtualized environment and targeting the host machine.
On the flip side, you could try going for a general-purpose VM machine if you’re not into coding. While its virtualized nature will result in slightly lower performance than a bare-metal setup, it will still be highly functional. Source? My nerd self who tried gaming on a Proxmox-powered VM the other day.